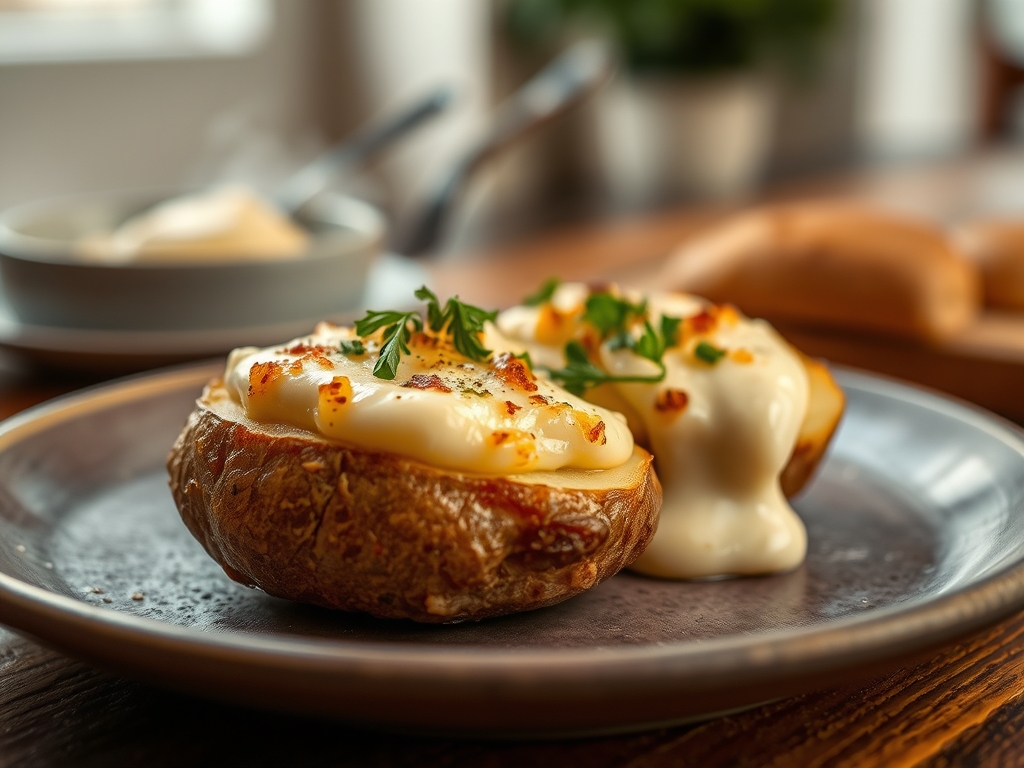
Imagine the sound of a knife piercing a salt-encrusted skin to reveal a cloud of steaming, ivory fluff. It is the ultimate comfort, yet most versions fall flat because they lack the structural integrity of professional creamy baked potato recipes. We are moving beyond basic butter; we are engineering the perfect emulsion of starch and fat for pure decadence.
True culinary magic happens when you treat a tuber like a canvas for chemistry. To achieve that velvet interior, you must understand how moisture behaves inside a Russet versus a Yukon Gold. We are aiming for a texture that is simultaneously airy and rich. Whether you are hosting a formal dinner or seeking a weeknight escape, these nine hacks will transform your kitchen into a high-end steakhouse. We are talking about deep flavor infusions, scientific salt applications, and textures so smooth they defy gravity. Grab your apron and your digital scale; we are about to redefine what a potato can be through the lens of modern gastronomy.
The Gathers:
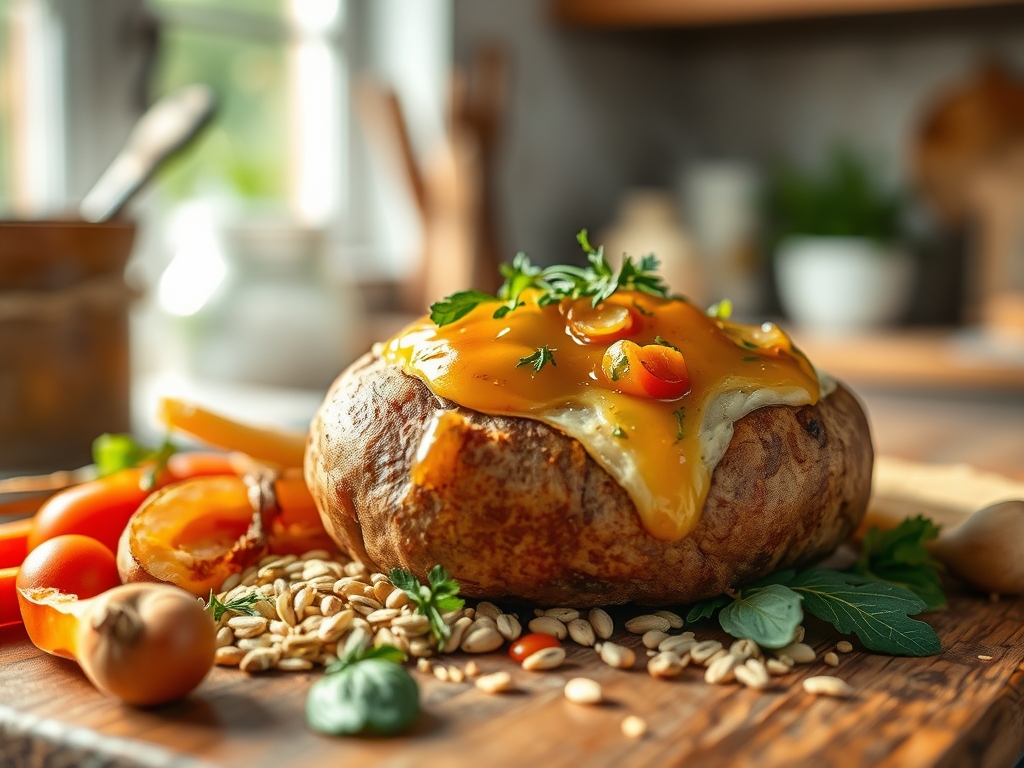
To execute these creamy baked potato recipes with precision, your mise-en-place must be impeccable. Start with high-starch Russet potatoes; their low moisture content allows the cells to separate easily, creating that sought-after fluffiness. You will also need high-fat European butter (look for 82 percent butterfat) to ensure a viscous mouthfeel that does not break under heat.
Your dairy selection is critical. Heavy cream provides the fat, but a dollop of creme fraiche adds a piquant acidity that cuts through the starch. For seasoning, use fine sea salt for the interior and flaky Maldon for the exterior crust. Do not forget the aromatics: fresh chives, roasted garlic cloves, and perhaps a hint of freshly grated nutmeg to enhance the dairy notes.
Smart Substitutions:
If you are avoiding dairy, swap the heavy cream for full-fat coconut milk or a cashew-based cream. The goal is to maintain the fat-to-starch ratio. For a lower glycemic index, you can utilize Japanese Sweet Potatoes (Satsumaimo), though you must adjust your roasting time as they are denser than traditional white potatoes. Always use a microplane for your aromatics to ensure they integrate seamlessly without creating a gritty texture.
The Clock
The "Chef's Flow" is all about overlapping tasks to maximize efficiency. Total prep time is roughly 15 minutes, while the roasting process requires 60 to 75 minutes depending on the size of your tubers.
Start by preheating your oven to 425 degrees Fahrenheit. While the oven stabilizes, scrub and dry your potatoes. During the first 45 minutes of baking, you should be preparing your infusions. Use a saucier to gently warm your cream and butter with herbs. This prevents a temperature shock when you mix the cold dairy into the hot potato, which can lead to a gummy, glue-like consistency. The final 15 minutes are reserved for the "fluff and fold" phase, where the residual heat does the heavy lifting.
The Masterclass:
1. The Brine Soak
Before the potato even sees the oven, soak it in a 10 percent salt-water solution for ten minutes. This initiates osmosis, pulling a tiny amount of moisture from the skin to ensure it crisps up rather than steams.
Pro Tip: This prevents the skin from becoming leathery. By drying the surface thoroughly after the soak, you facilitate the Maillard reaction, creating a flavorful, brown crust.
2. The Piercing Protocol
Use a fork to pierce the skin exactly six times around the equator. This allows steam to escape at a controlled rate, preventing internal pressure from turning the starch into a dense paste.
Pro Tip: Controlling the steam release prevents "water-logging" the interior. If steam stays trapped, it re-hydrates the starch granules, ruining the fluffy texture.
3. The High-Heat Roast
Place your potatoes directly on the oven rack. Do not use foil. Foil traps moisture and steams the potato, which is the enemy of creamy baked potato recipes.
Pro Tip: Air circulation is vital for evaporative cooling. This process keeps the skin dry while the internal temperature reaches the 210-degree Fahrenheit sweet spot for starch gelatinization.
4. The Internal Temp Check
Use a digital probe thermometer to check for an internal temperature of 205 to 212 degrees Fahrenheit. This is the precise window where the starch granules fully swell and burst.
Pro Tip: This is known as the "gelatinization point." If you pull the potato too early, the center will be waxy; too late, and the starch begins to dehydrate and toughen.
5. The Immediate Vent
The second the potatoes leave the oven, use a bench scraper or sharp knife to slice them open. Use tongs to gently squeeze the ends toward the center to "bloom" the interior.
Pro Tip: This release of steam stops the cooking process immediately. If you wait even two minutes, the remaining steam will condense back into water, making the potato soggy.
6. The Fat First Rule
Always add your butter before any other liquid. Mash it gently into the hot flesh so the fat coats the starch molecules.
Pro Tip: Coating the starch in fat creates a barrier. This prevents the proteins in the milk or cream from bonding with the starch, which is the secret to avoiding a "gluey" texture.
7. The Warm Infusion
Never add cold cream. Heat your cream in a saucier with garlic or thyme until it reaches a simmer, then strain it into the potato.
Pro Tip: Temperature parity is essential for a stable emulsion. Cold liquids cause the fats in the butter to seize, resulting in a grainy mouthfeel.
8. The Aeration Fold
Use a fork or a small whisk to aerate the potato mixture. Do not overwork it; use a folding motion as if you were making a souffle.
Pro Tip: Over-mixing breaks the cell walls of the potato, releasing excess amylose. Too much amylose creates a sticky, wallpaper-paste consistency.
9. The Final Sear
For a gourmet twist, place the stuffed potato back under the broiler for two minutes to render any cheese or toppings into a golden crust.
Pro Tip: This utilizes thermal carryover. The intense top-down heat creates a flavor contrast between the crunchy top and the velvet interior.
The Deep Dive
Macro Nutrition: A medium potato provides roughly 160 calories, but our creamy additions will bring this closer to 350 calories. It is a powerhouse of potassium and Vitamin C. To keep it leaner, use Greek yogurt instead of sour cream for a protein boost.
Dietary Swaps: For a Keto-friendly version, you can apply these same "infusion" techniques to roasted cauliflower mash. For Vegan guests, use a high-quality olive oil and nutritional yeast to replicate the savory "umami" of cheese.
The Fix-It:
- Gummy Texture: You over-mixed. Fix it by spreading the potato thin in a baking dish, topping with breadcrumbs, and baking it into a gratin.
- Bland Interior: You forgot to season the cream. Inject a small amount of salt-water or liquid aminos into the center.
- Hard Skin: The oven was too cool. Increase heat to 450 for the last ten minutes and brush with a light coating of oil.
Meal Prep: To reheat and maintain "day-one" quality, do not use a microwave. Wrap the potato in parchment paper and heat in a 350-degree oven. This prevents the starch from "retrograding," which is the process that makes leftover potatoes feel gritty.
The Wrap-Up
Mastering creamy baked potato recipes is a rite of passage for any home chef. By respecting the science of starch and the power of a stable emulsion, you elevate a humble root vegetable into a masterpiece of texture and taste. Remember to always heat your dairy, respect the internal temperature, and never, ever use foil. Your kitchen is now a laboratory of flavor; go forth and mash with confidence!
The Kitchen Table
Which potato is best for baking?
The Russet Burbank is the gold standard. Its high starch content and low moisture ensure a light, mealy texture that absorbs butter and cream efficiently, unlike waxy varieties like Red Bliss which stay dense and firm.
Should I wrap my potato in foil?
No. Foil traps steam, which turns the skin soft and the interior wet. For a truly creamy baked potato with a crisp skin, roast it directly on the oven rack to allow moisture to evaporate.
How do I avoid a gummy texture?
Avoid over-working the potato. Use a fork to fluff, not a food processor. Adding fat (butter) before any liquid (milk) also coats the starch and prevents the "gluey" reaction caused by released amylose.
What is the ideal internal temperature?
Aim for 205 to 212 degrees Fahrenheit. At this range, the starch granules have fully hydrated and softened, ensuring the interior is fluffy and ready to be emulsified with your creamy additions.