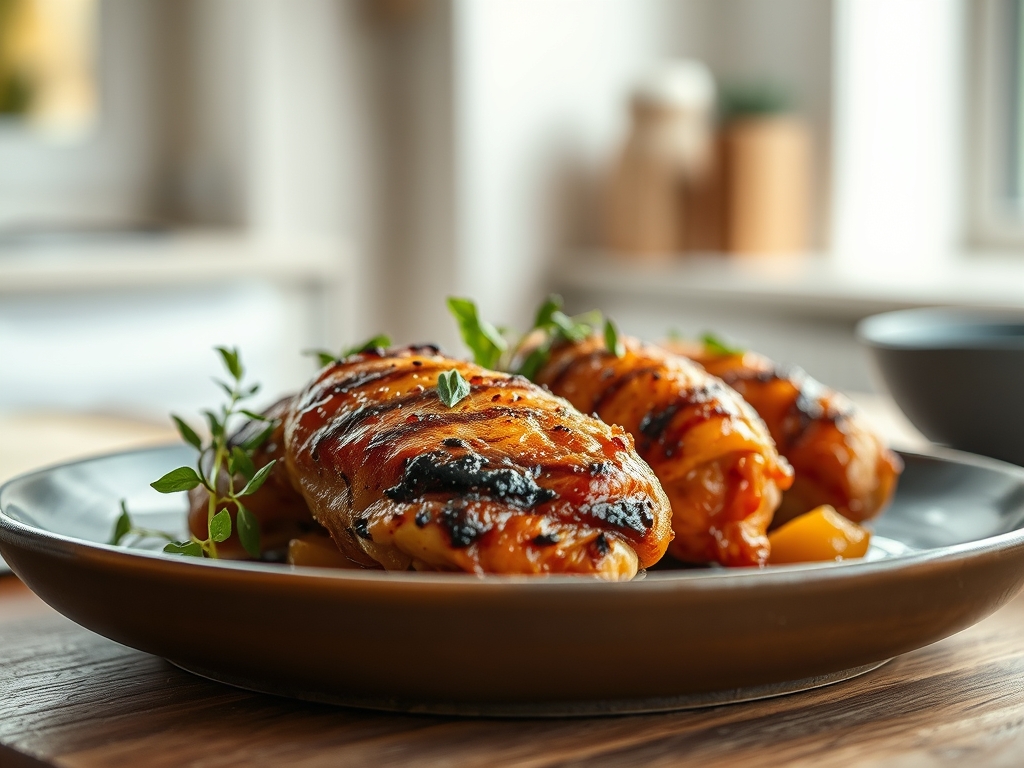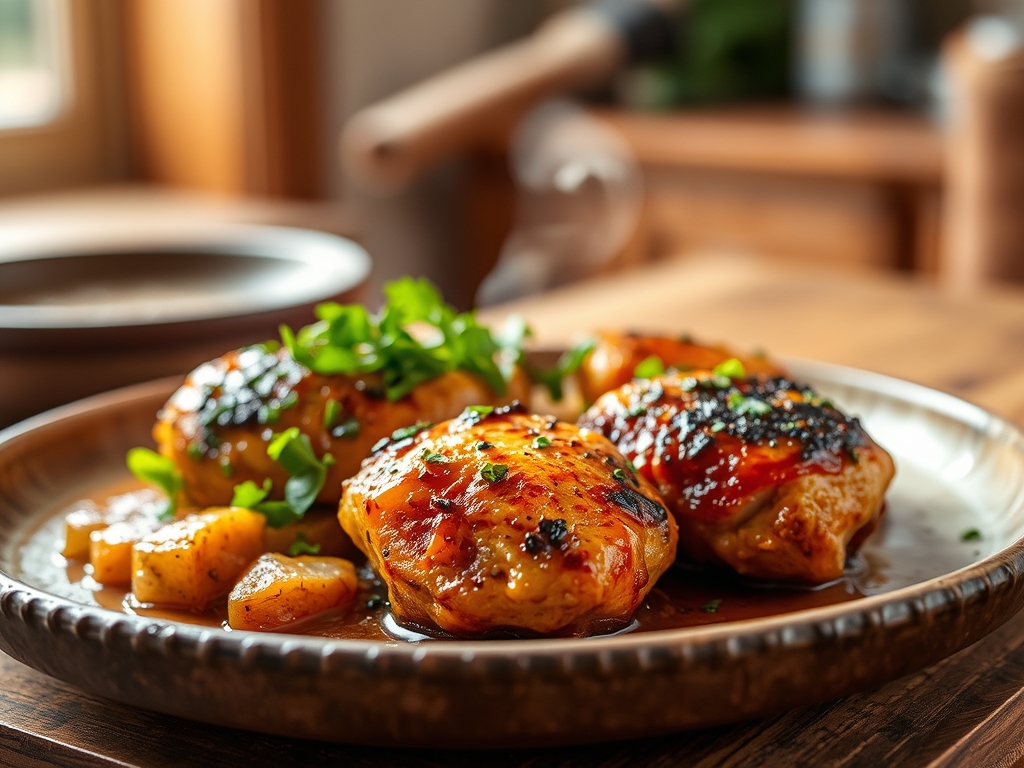
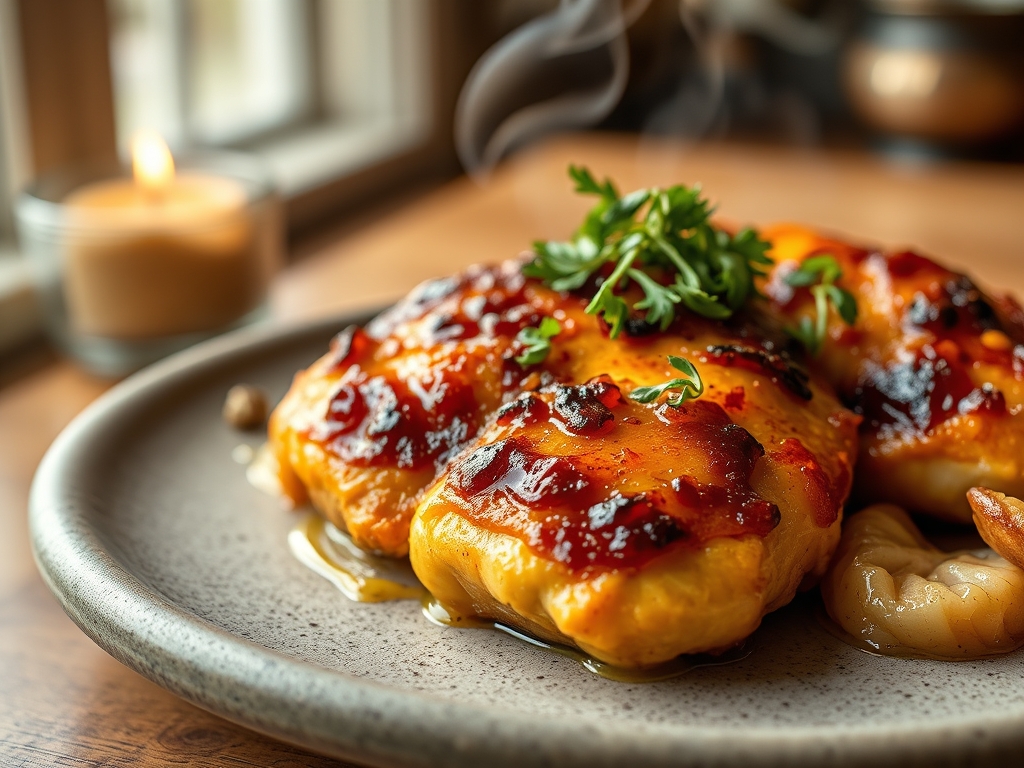
Close your eyes and imagine the scent of woodsmoke mingling with the sweet, heavy aroma of caramelized onions and rendered chicken fat. That specific, comforting fragrance is the hallmark of the most beloved cracker barrel campfire chicken recipes; it is a sensory experience that feels like a warm hug on a porch in Tennessee. We are not just making dinner tonight; we are engineering a nostalgic masterpiece that balances the rustic charm of outdoor cooking with the precision of modern culinary science. The secret to this dish lies in the controlled environment of a foil packet, which acts as a miniature pressure cooker to infuse every fiber of the protein with the piquant essence of bell peppers and seasoned butter. By the time we are finished, you will have mastered the art of the perfect steam-roast. We are aiming for that specific, viscous sauce that clings to the potatoes, ensuring every bite is a textural symphony of tender meat and buttery vegetables. Let us transform your kitchen into a high-end smokehouse without ever needing to strike a single match outside.
The Gathers:
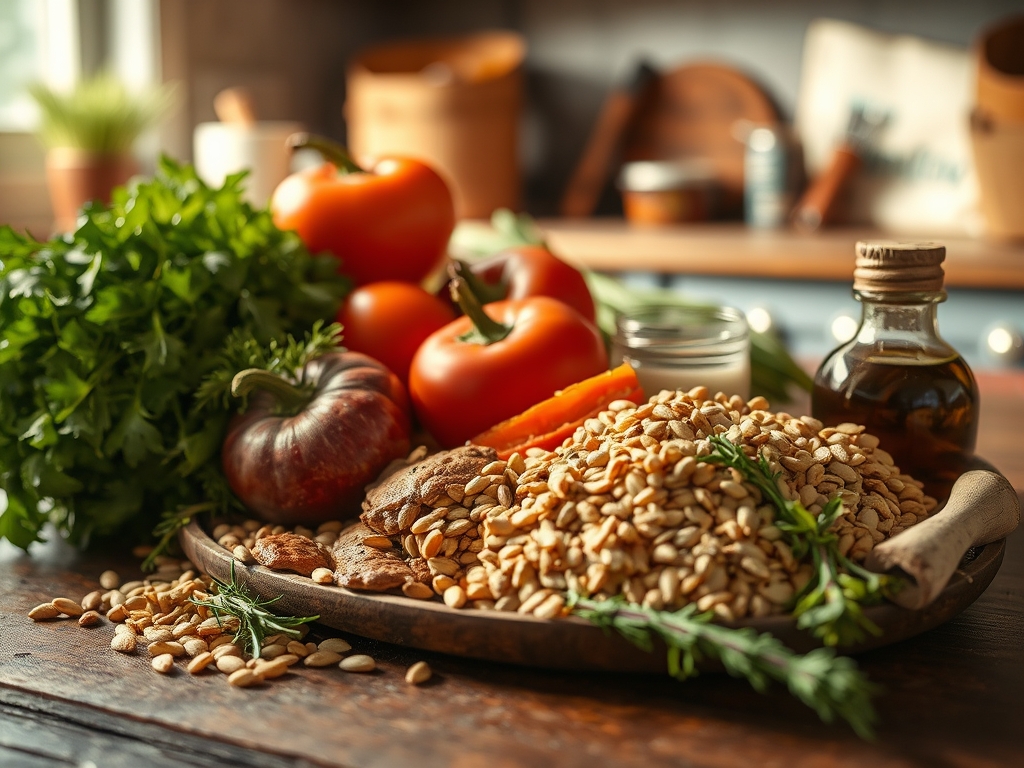
To achieve the depth of flavor found in professional cracker barrel campfire chicken recipes, your mise-en-place must be exact. Start with six-ounce boneless, skinless chicken breasts; these provide a lean canvas for the fats we will introduce. You will need high-starch Russet potatoes, which release the necessary amylose to thicken the natural juices. Gather vibrant red and green bell peppers, yellow onions, and baby carrots for that classic visual contrast.
For the flavor profile, you will require unsalted butter, smoked paprika, garlic powder, onion powder, and a high-quality kosher salt. The coarse grains of kosher salt are essential for even distribution. Use a microplane to zest a hint of lemon if you want to brighten the earthy tones.
Smart Substitutions:
If you are looking to elevate the dish, swap the Russets for Yukon Gold potatoes; their higher wax content allows them to hold their shape during the intense steam phase. If you lack smoked paprika, a drop of liquid smoke mixed into melted butter provides that essential "campfire" finish. For a sharper profile, use red onions instead of yellow to introduce a higher concentration of anthocyanins, which provide a subtle sweetness when fully caramelized.
The Clock:
Mastering the "Chef's Flow" is about overlapping tasks to minimize downtime.
- Prep Time: 20 minutes. This includes the precision dicing of vegetables and the seasoning of the protein.
- Cook Time: 35 to 40 minutes. This is the thermal window required for the potatoes to reach a creamy consistency.
- Resting Time: 5 minutes. Essential for moisture redistribution.
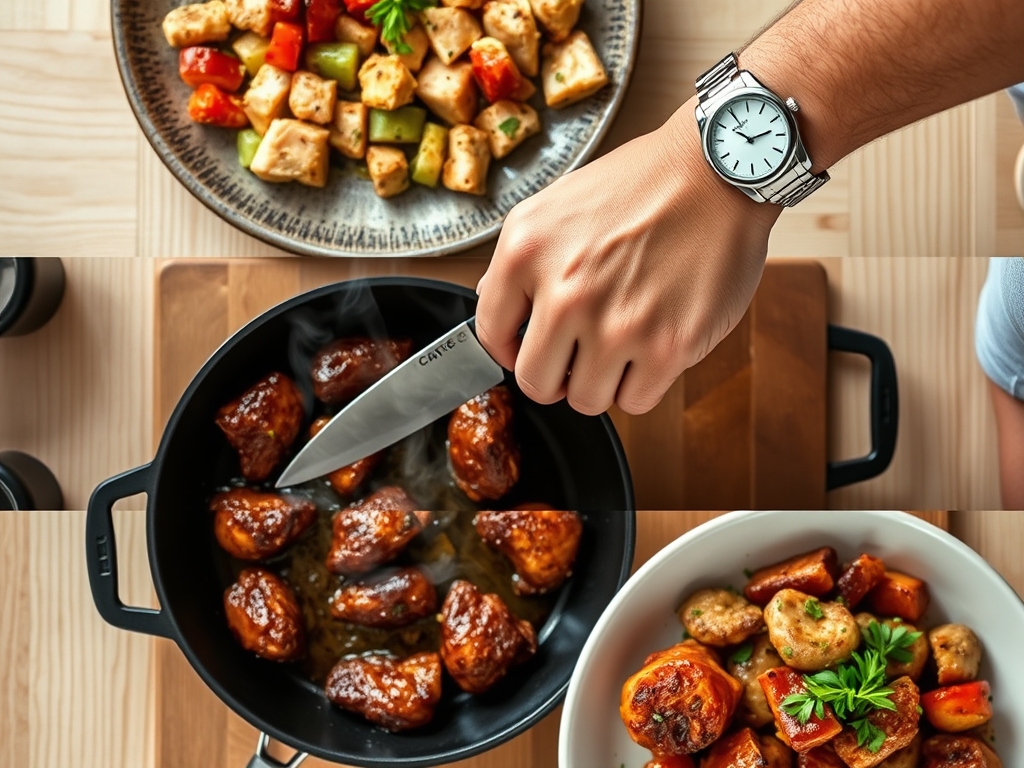
Total time is roughly one hour. While the oven preheats to 400 degrees Fahrenheit, use your bench scraper to organize your vegetable piles. This ensures that when it comes time to assemble the foil packets, you are moving with the efficiency of a line cook.
The Masterclass:
1. The Seasoning Foundation
Begin by patting the chicken dry with paper towels to remove surface moisture. In a small bowl, combine your dry spices. Use a digital scale if you want perfect consistency across every packet. Rub the mixture vigorously into the meat, ensuring every crevice is coated.
Pro Tip: This process utilizes denaturation. The salt begins to break down the tightly wound proteins on the surface, allowing the spices to penetrate deeper into the muscle fibers rather than just sitting on top.
2. Vegetable Precision
Slice your potatoes into half-inch rounds and your carrots into coins. The goal is uniform surface area. Use a sharp chef knife to ensure clean cuts; ragged edges release too much starch too quickly, which can lead to a gummy texture.
Pro Tip: Uniformity in size ensures thermal equilibrium. If the potato slices vary in thickness, the thinner pieces will disintegrate into mush before the thicker pieces reach the desired fork-tender state.
3. The Foil Architecture
Tear off large squares of heavy-duty aluminum foil. Place the potatoes and carrots at the base to create a thermal buffer. Set the seasoned chicken on top, then crown it with the peppers and onions. Top each stack with a generous pat of butter.
Pro Tip: Placing the vegetables at the bottom facilitates conduction. The heat from the baking sheet transfers directly to the potatoes, while the chicken above is cooked via convection from the trapped steam inside the pouch.
4. The Hermetic Seal
Fold the foil edges tightly to create a pressurized environment. There should be no gaps where steam can escape. Place the packets on a heavy-bottomed skillet or a rimmed baking sheet to catch any potential leaks.
Pro Tip: This creates a micro-environment where the internal pressure rises slightly. This increased pressure raises the boiling point of the liquids, cooking the dense carrots much faster than a standard roasting method would allow.
5. The High-Heat Roast
Slide the tray into the center rack of your oven. Bake at 400 degrees Fahrenheit for 35 minutes. You are looking for the point where the vegetables have softened and the chicken reaches an internal temperature of 160 degrees Fahrenheit.
Pro Tip: We rely on thermal carryover. By removing the chicken at 160 degrees, the residual heat trapped in the foil will bring the internal temperature to the USDA-recommended 165 degrees without drying out the breast meat.
6. The Final Deglaze
Carefully open the packets; watch for the escaping steam to avoid burns. If the sauce looks too thin, pour the liquid into a small saucier and reduce it over medium heat for two minutes until it becomes a shimmering glaze.
Pro Tip: This reduction stage triggers the Maillard reaction in the sauce, deepening the color and concentrating the sugars from the onions and peppers into a savory umami bomb.
The Deep Dive:
Macro Nutrition:
A standard serving of this campfire chicken provides approximately 380 calories, 35 grams of protein, 28 grams of carbohydrates, and 14 grams of fat. It is a balanced "plate" in a single packet, providing high satiety with moderate caloric density.
Dietary Swaps:
- Vegan: Replace chicken with thick slabs of cauliflower and use a plant-based butter alternative.
- Keto: Omit the potatoes and carrots; substitute with radishes and zucchini. Radishes lose their peppery bite and mimic the texture of potatoes when roasted.
- GF: This recipe is naturally gluten-free; just ensure your smoked paprika is certified pure.
The Fix-It:
- Soggy Vegetables: This happens if the foil is too loose. Ensure a tight seal to maintain steam pressure.
- Dry Chicken: You likely skipped the resting phase. Let the packets sit unopened for five minutes to allow the juices to reabsorb into the meat fibers.
- Bland Potatoes: Potatoes require more salt than you think. Season the vegetable layer separately before adding the chicken.
Meal Prep & Reheating:
To maintain "day-one" quality, store the contents in airtight glass containers. When reheating, avoid the microwave if possible. Instead, place the food back in a foil pouch with a tablespoon of water and heat in a toaster oven at 350 degrees. The added water will re-aerate the sauce and prevent the chicken from becoming rubbery.
The Wrap-Up:
There you have it; a rustic classic elevated by the principles of molecular gastronomy. By understanding how steam, pressure, and thermal carryover work together, you have turned a simple foil-pack meal into a gourmet experience. This version of cracker barrel campfire chicken recipes is more than just a copycat; it is a refined technique that you can use for any protein-and-veg combination in your repertoire. Now, grab a fork, peel back that foil, and enjoy the fruits of your scientific labor.
The Kitchen Table:
How do I prevent the chicken from sticking to the foil?
Always grease the foil with a light coating of oil or butter before layering. This creates a hydrophobic barrier that prevents the proteins from bonding to the aluminum surface during the high-heat roasting process.
Can I use chicken thighs instead of breasts?
Yes, thighs are excellent for this method. Because they have more connective tissue and fat, they are more forgiving and stay juicy even if slightly overcooked. Increase the cook time by five minutes for optimal rendering.
What is the best way to tell if it is done?
Use an instant-read thermometer. Insert it through the foil into the thickest part of the chicken. When it hits 160 degrees Fahrenheit, remove it from the oven and let it rest to reach the final safety temp.
Can I make these on a real grill?
Absolutely. Place the packets over medium-high heat on a gas or charcoal grill for 25 to 30 minutes. The direct flame will enhance the smoky flavor, but keep the lid closed to maintain the convection heat.