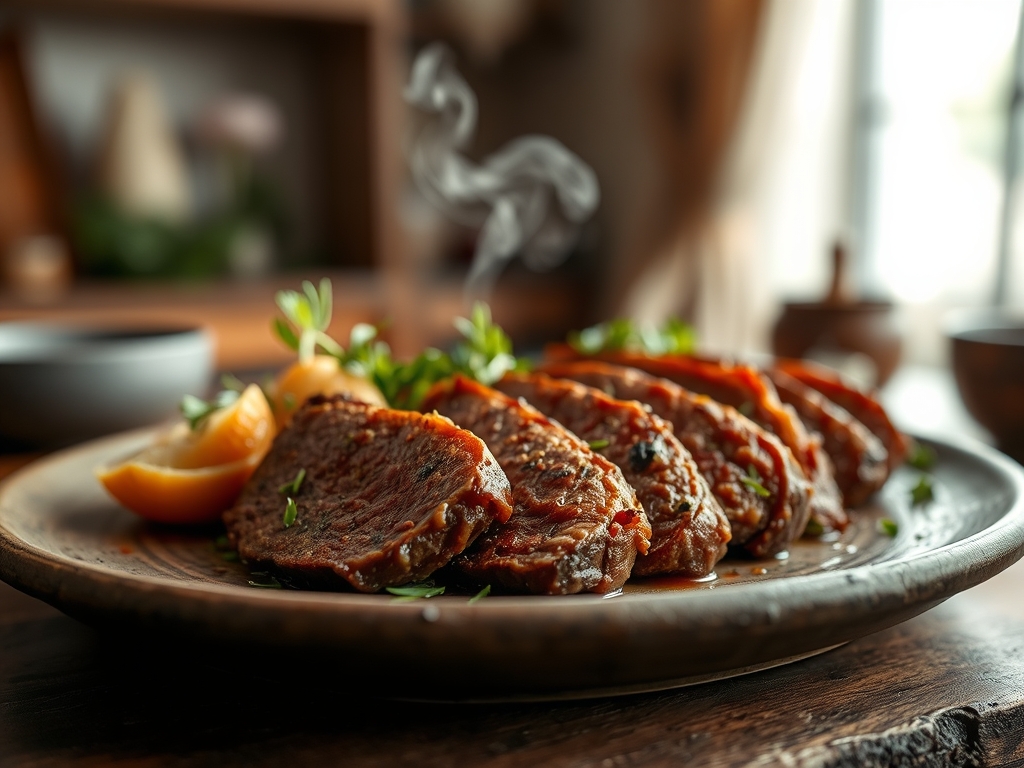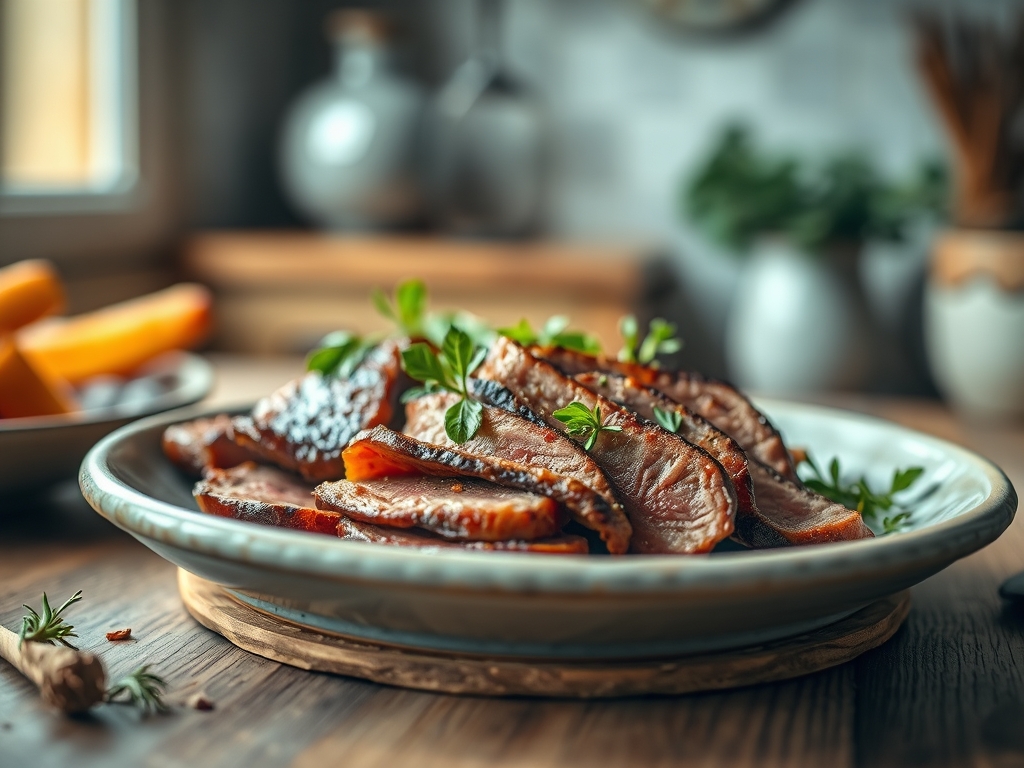
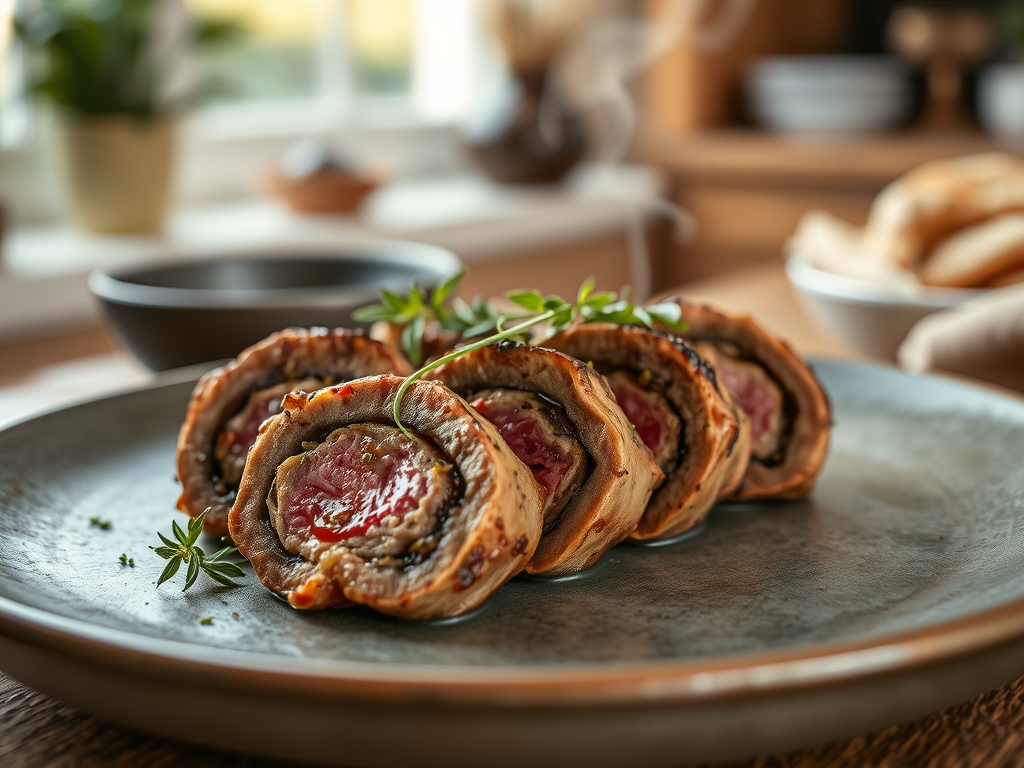
Picture this: a heavy-bottomed skillet sizzling on the range, the air thick with the scent of garlic confit and searing fat. When you slice through a perfectly browned tenderloin to reveal a vibrant, molten center of spinach and fontina, you are not just serving dinner; you are performing a culinary magic trick. Mastering stuffed beef recipes is the ultimate flex for any home host because it combines the primal satisfaction of a steakhouse with the delicate precision of a patisserie. It is about the contrast between the crusty, salty exterior and the succulent, herbaceous interior that keeps your guests reaching for their wine glasses in pure delight.
Whether you are planning a high-stakes holiday gala or a cozy Sunday supper, the architecture of a stuffed roast is what separates the enthusiasts from the experts. We are moving beyond the basic roll-up. We are talking about structural integrity, moisture retention, and the glorious chemistry of the Maillard reaction. By the time we are done, you will understand exactly how to manipulate heat and protein fibers to create a centerpiece that looks like a million bucks but feels like a warm hug. Let us get your apron on and your knives sharpened; we have some serious flavor profiles to build.
The Gathers:
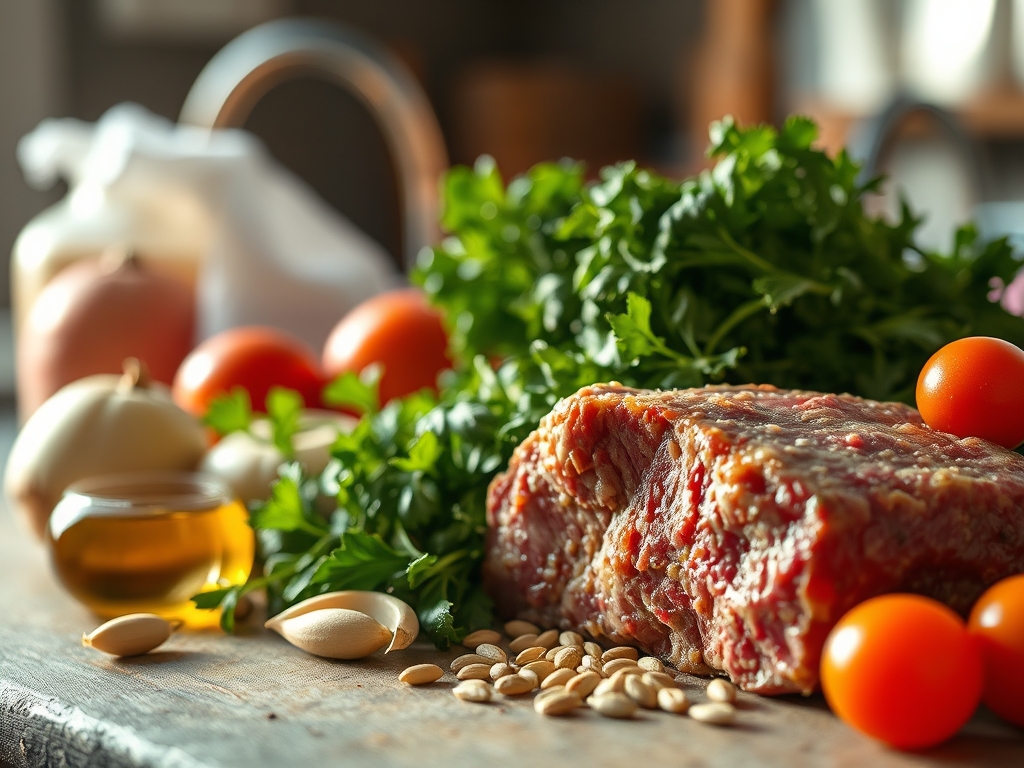
Before we touch the heat, we must respect the mise-en-place. Your workstation should look like a laboratory of texture. Start with your canvas: a center-cut beef tenderloin or a flank steak, depending on your desired fat content. You will need a digital scale to ensure your stuffing-to-meat ratio is precise; aim for twenty-five percent stuffing by weight to avoid structural collapse.
For the filling, gather piquant elements like sun-dried tomatoes, briny feta, or earthy wild mushrooms. Use a microplane to zest lemon and grate fresh nutmeg into your greens; this aerates the citrus oils for a brighter aromatic profile. You will also need high-smoke-point fats like avocado oil or clarified butter to ensure a deep sear without the bitterness of burnt milk solids.
Smart Substitutions:
If you want to lighten the profile, swap traditional breadcrumbs for crushed pork rinds to keep it keto-friendly or use toasted quinoa for a nutty, gluten-free crunch. Instead of heavy cream in your spinach filling, try a dollop of Greek yogurt or silken tofu to maintain a viscous, creamy mouthfeel without the caloric density. If beef is not on the menu, these techniques translate beautifully to a thick-cut pork loin or even a sturdy portobello mushroom.
The Clock: Timing the Masterpiece
Precision timing is the difference between a tender masterpiece and a rubbery disappointment. Total active prep time for most stuffed beef recipes is roughly forty-five minutes. This includes the delicate "butterfly" cut, the layering of aromatics, and the securing of the roast with butcher's twine.
The "Chef's Flow" dictates that you prepare your stuffing first, allowing it to cool completely in the refrigerator before it ever touches the raw meat. Placing warm stuffing on cold beef initiates premature fat rendering and can encourage bacterial growth. The actual roasting time varies by weight, but expect twenty to thirty minutes in a high-heat oven. Always factor in a mandatory twenty-minute rest period. This is not a suggestion; it is a thermal necessity to allow the internal juices to redistribute.
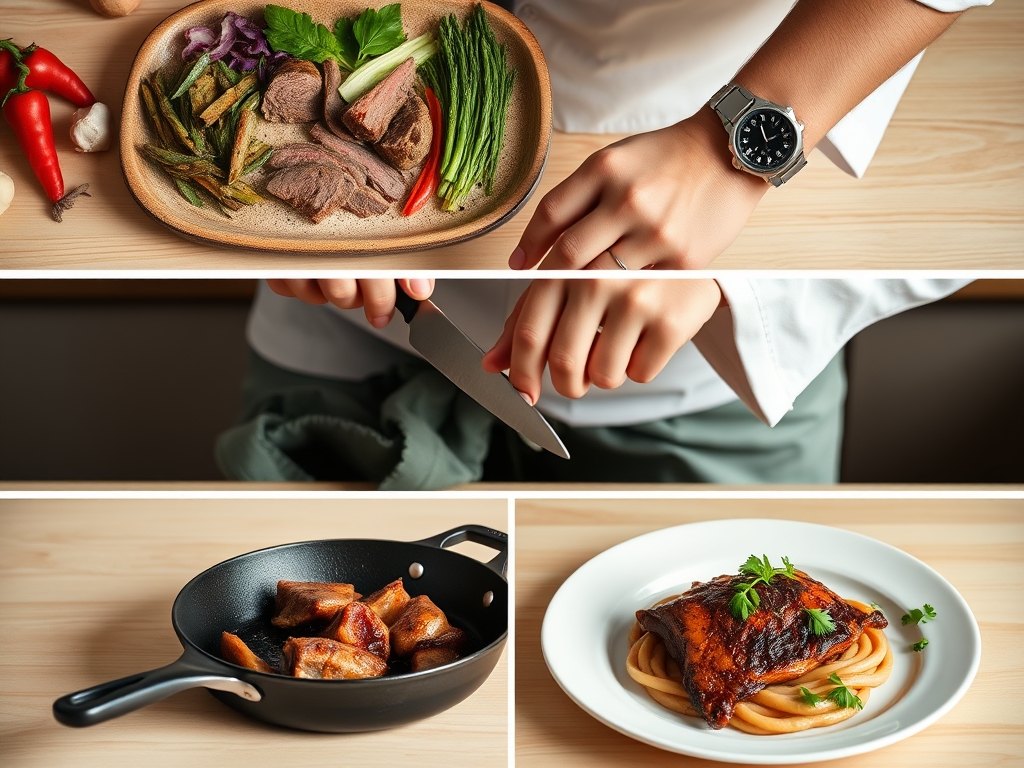
The Masterclass:
1. The Butterfly Maneuver
Using a sharp damascus steel boning knife, slice the beef horizontally, stopping about a half-inch from the edge. Open it like a book. If the meat is uneven, lay a sheet of plastic wrap over it and use a meat mallet to gently level the surface.
Pro Tip: This creates a uniform surface area which ensures even thermal conductivity. If one side is thicker, it will reach the target internal temperature slower than the rest, leading to a patchy, uneven cook.
2. Layering the Aromatics
Spread your cooled stuffing across the surface, leaving a one-inch border around the edges. Use a bench scraper to ensure an even distribution of the mixture. This border prevents the filling from squeezing out like toothpaste when you roll it.
Pro Tip: This gap accounts for protein contraction. As the beef fibers heat up, they shrink and tighten, naturally pushing the stuffing toward the center and the ends.
3. The Secure Cinch
Roll the beef tightly and secure it with butcher's twine every two inches. Use a "surgeon's knot" to keep the tension consistent. The goal is a uniform cylinder that looks like a professional galantine.
Pro Tip: Consistent tension prevents air pockets. Air is a poor conductor of heat; gaps inside the roll can lead to "cold spots" where the meat remains undercooked while the exterior overcooks.
4. The Hard Sear
Heat your heavy-bottomed skillet until the oil ripples. Use tongs to sear every side of the beef until a deep, mahogany crust forms. Do not crowd the pan; if the pan temperature drops, the meat will steam in its own juices rather than brown.
Pro Tip: This is the Maillard reaction in action. By reacting amino acids with reducing sugars at high heat, you create hundreds of different flavor compounds that provide that "savory" umami depth.
5. The Oven Finish
Transfer the skillet (or a roasting pan) into a 425 degree Fahrenheit oven. Use a digital probe thermometer set to 125 degrees for a perfect medium-rare. The temperature will continue to climb during the rest.
Pro Tip: This is known as thermal carryover. The residual heat on the surface continues to travel toward the center even after the meat is removed from the heat source, typically raising the temp by five to ten degrees.
6. The Deglaze
While the meat rests, place the skillet back on the burner. Pour in a splash of dry red wine or beef stock. Use a saucier whisk to scrape up the brown bits (the fond) from the bottom of the pan.
Pro Tip: Deglazing captures the concentrated proteins and sugars left in the pan. Emulsifying a pat of cold butter into this liquid at the end creates a glossy, viscous pan sauce that ties the whole dish together.
The Deep Dive:
When we look at the macro nutrition of stuffed beef recipes, we are seeing a powerhouse of bioavailable iron and B12. A standard six-ounce serving provides roughly forty grams of protein. By stuffing the beef with fibrous greens like kale or Swiss chard, you are significantly boosting the vitamin K and folate content per bite.
Dietary Swaps:
For my vegan friends, use a large, roasted eggplant as the "meat" and stuff it with a walnut and mushroom pate. For the keto crowd, skip any bread-based binders and use extra parmesan cheese and crushed pecans. If you are cooking gluten-free, ensure your beef stock and any Worcestershire sauce used are certified GF, as hidden barley malt is a common culprit.
The Fix-It:
- The Leak: If your cheese is leaking out, your roll wasn't tight enough. Next time, use a "double-bind" with the twine. Fix it now by spooning the escaped cheese back over the meat as a rustic topping.
- The Grey Ring: If you have a thick grey band of overcooked meat around the edges, your oven was too hot or you didn't rest the meat long enough. Next time, try a "reverse sear" method.
- The Soggy Bottom: If the underside is wet, you likely didn't sear it long enough or you placed it directly on a flat pan. Use a wire roasting rack to allow air to circulate.
Meal Prep Science:
To reheat leftovers without turning your beef into leather, avoid the microwave. Use a "low and slow" approach in a toaster oven at 250 degrees with a tablespoon of water covered in foil. This creates a mini-steam chamber that rehydrates the protein fibers without re-cooking the center.
The Wrap-Up:
You now hold the keys to the kingdom of stuffed beef recipes! From the initial butterfly cut to the final, glossy deglaze, you are manipulating physics and chemistry to create something truly spectacular. Remember that cooking is as much about the "why" as it is the "how." When you understand how heat moves through a protein and how acids balance fats, you stop following recipes and start creating art. Go forth, grab your twine, and prepare to be the most popular host in your social circle. Your kitchen is your laboratory; make it delicious!
The Kitchen Table:
Can I use a cheaper cut of meat for stuffing?
Absolutely. Flank steak or top round are excellent, affordable options. Just ensure you use a meat mallet to tenderize the fibers and marinate the beef for at least four hours to break down the tougher connective tissues before stuffing.
How do I prevent the stuffing from being soggy?
The secret is to pre-cook any high-moisture vegetables like mushrooms or spinach. Sauté them until all liquid has evaporated, then chill them completely before stuffing. This ensures the moisture stays in the vegetables rather than leaking into the beef.
What is the best way to tie the beef?
Use the "loop and pull" method with butcher's twine. Create a series of interconnected loops along the length of the roast. This maintains even pressure across the entire muscle, ensuring the stuffing stays put during the searing process.
How long can I store the stuffed beef before cooking?
You can prep and tie the roast up to twenty-four hours in advance. Keep it tightly wrapped in plastic in the coldest part of your fridge. This actually helps the exterior dry out, which leads to a superior sear.