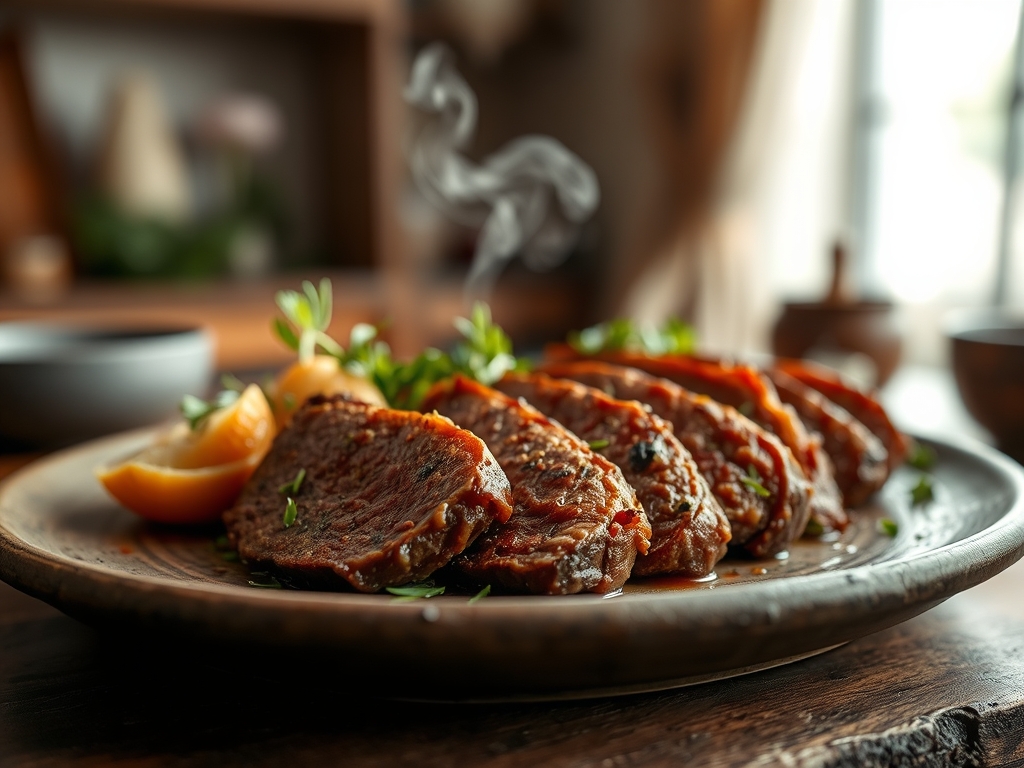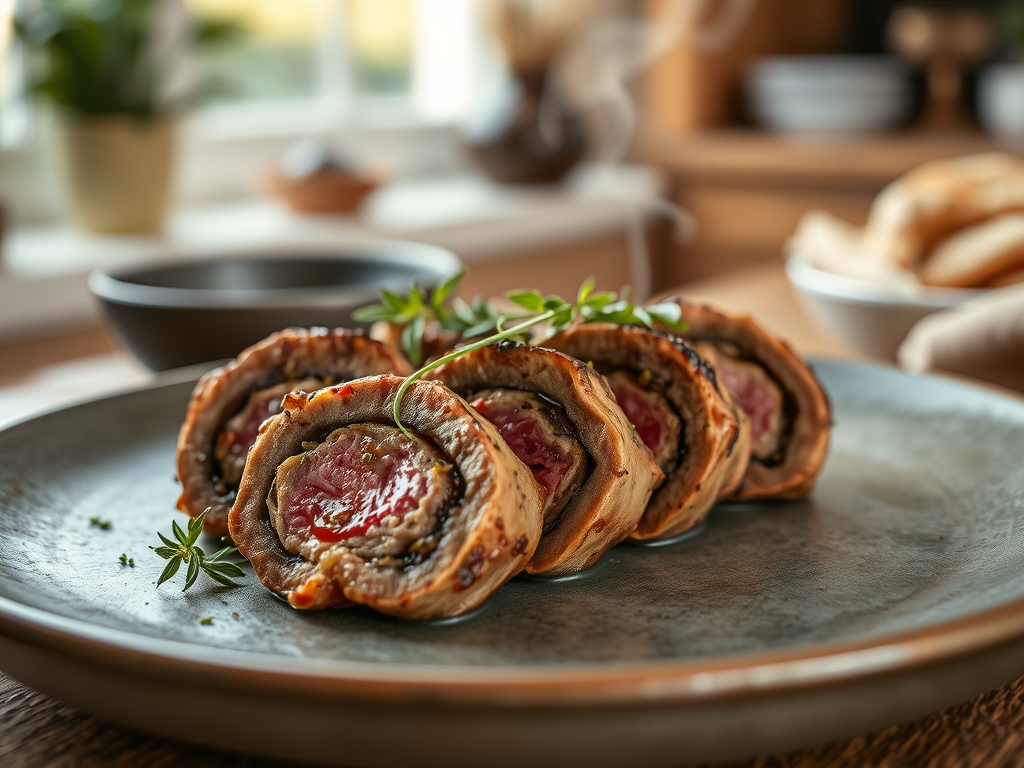
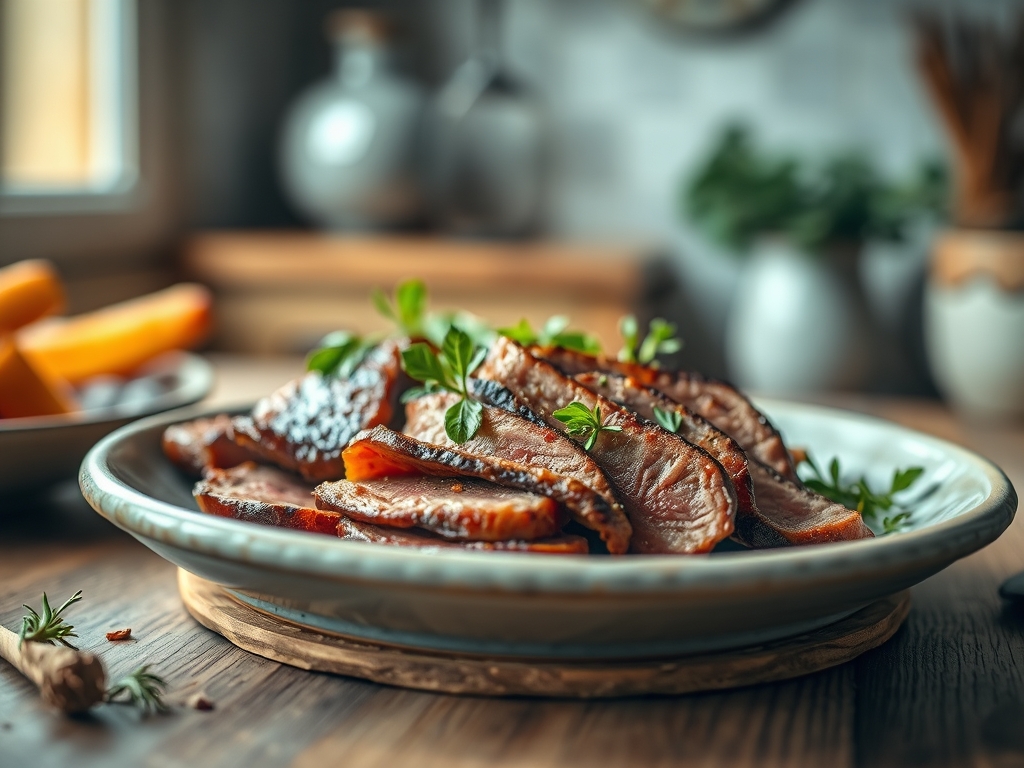
Imagine walking into a Chicago corner deli where the air is heavy with the scent of toasted oregano and slow-simmered garlic. The magic of the perfect sandwich lies in the alchemy of the broth and the precision of the cut. When exploring sliced italian beef recipes, you are not just making a meal; you are engineering a masterpiece of moisture retention and structural integrity.
The secret to that iconic, melt-in-your-mouth texture is a delicate balance of fat rendering and fiber breakdown. Most home cooks fail because they rush the cooling process or neglect the seasoning of the jus. We are going to fix that. We will transform a humble chuck roast or top round into a silken, piquant delight that rivals any legendary Windy City establishment. Grab your apron and your favorite heavy-bottomed skillet; we are about to dive into the molecular mechanics of the ultimate beef sandwich.
The Gathers:
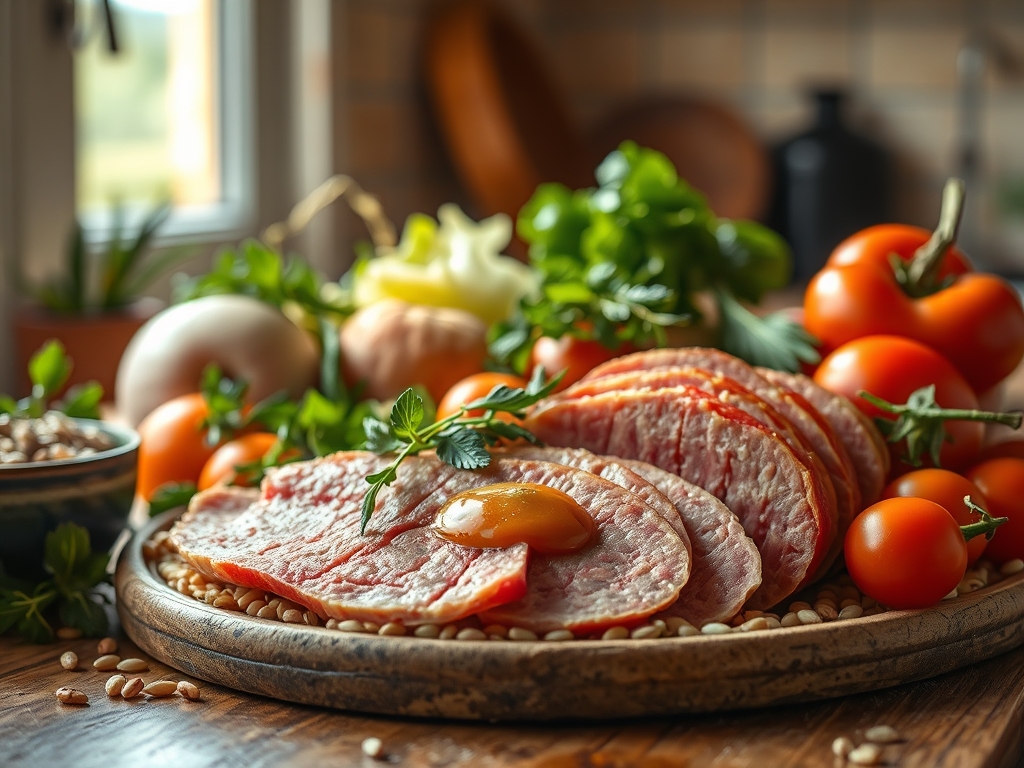
To achieve professional results, your mise-en-place must be impeccable. You will need a four to five pound top round or bottom round roast. While chuck roast is popular for its high fat content, the round allows for the clean, structural slices required for authentic presentation. You will also need a high-quality beef consomme, which provides a more viscous mouthfeel than standard broth due to its higher gelatin content.
The aromatic profile depends on a blend of dried oregano, basil, toasted fennel seeds, and crushed red pepper flakes. Use a microplane to grate six cloves of fresh garlic into a paste; this increases the surface area for maximum flavor infusion. For the acidic punch, gather a jar of spicy giardiniera and a splash of red wine vinegar to deglaze the pan.
Smart Substitutions: If you cannot find a traditional round roast, a brisket flat works beautifully but requires a longer cook time to break down the connective tissue. For a lower-sodium version, swap store-bought broth for a homemade stock reduced by half to concentrate the natural glutamates without adding excess salt.
The Clock
Efficiency in the kitchen is about mastering the Chef's Flow. This is not a thirty-minute meal; it is a labor of patience. Total prep time is roughly twenty minutes, focusing on the spice rub and vegetable prep. The active cooking time spans three to four hours depending on the weight of your protein.
However, the most critical phase is the cooling period. You must factor in at least two hours of refrigeration before slicing. Attempting to slice hot beef results in shredded meat rather than clean ribbons. The total investment is about six hours, but the actual "hands-on" work is minimal. Your goal is to reach an internal temperature of 195 degrees Fahrenheit for pull-apart tenderness, or 145 degrees if you prefer a firmer, deli-style slice.
The Masterclass
1. The Sear and the Maillard Reaction
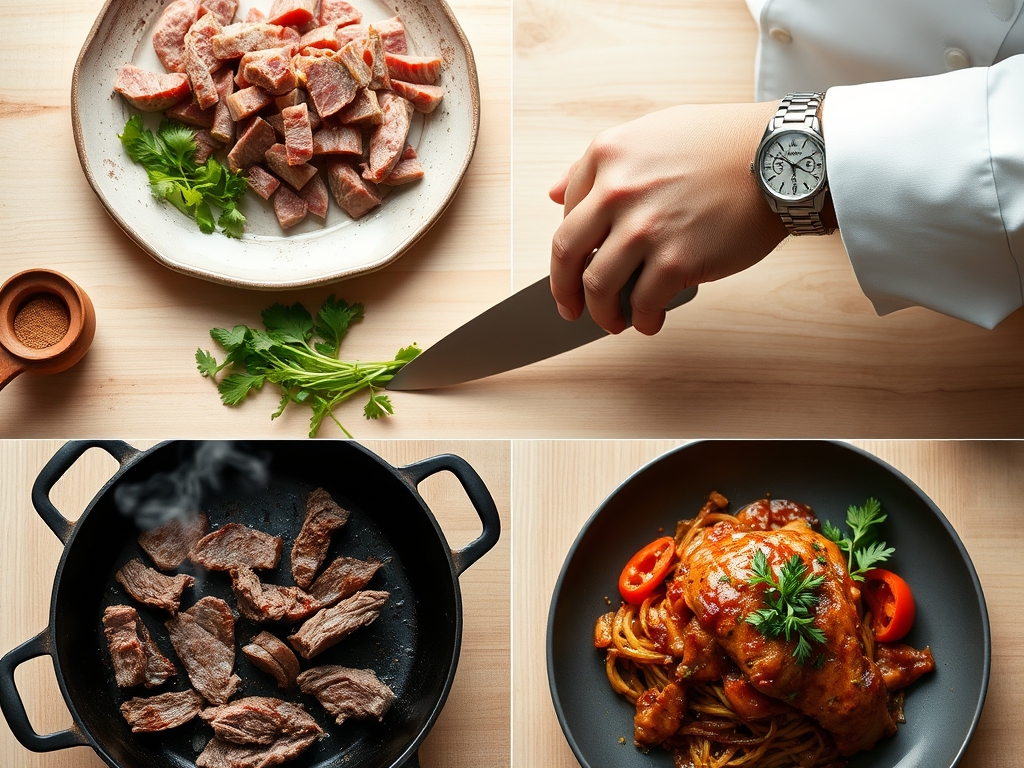
Begin by patting the beef dry with paper towels. Season aggressively with salt and pepper. Heat oil in a heavy-bottomed skillet until it reaches the smoke point. Sear the meat on all sides until a deep, mahogany crust forms.
Pro Tip: This crust is the result of the Maillard reaction, where amino acids and reducing sugars rearrange to create hundreds of flavor compounds. Do not crowd the pan; moisture is the enemy of a good sear.
2. Aromatics and Deglazing
Remove the beef and add your garlic paste and dried herbs to the rendered fat. Stir for thirty seconds until fragrant. Pour in a half-cup of beef broth to deglaze the skillet, using a bench scraper or wooden spoon to lift the fond (the browned bits) from the bottom.
Pro Tip: The fond contains concentrated umami. Incorporating it into the liquid ensures your gravy has a complex, savory depth that cannot be replicated by bouillon alone.
3. The Low and Slow Infusion
Place the beef in a slow cooker or a Dutch oven. Pour the seasoned broth over the meat until it is halfway submerged. Add your giardiniera juice for a piquant kick. Cover tightly to prevent evaporation.
Pro Tip: Maintaining a consistent, low temperature prevents the muscle fibers from tightening and squeezing out their juices. This is known as thermal equilibrium, ensuring the center is as tender as the exterior.
4. The Chill Factor
Once the beef reaches your target temperature, remove it from the liquid. Wrap it tightly in plastic wrap and refrigerate. Strain the cooking liquid into a saucier and refrigerate that as well.
Pro Tip: Chilling the meat allows the proteins to set. This makes it possible to achieve the paper-thin slices characteristic of premium sliced italian beef recipes.
5. Precision Slicing
Use a very sharp carving knife or an electric slicer. Cut against the grain to break up the long muscle fibers, which ensures every bite is tender.
Pro Tip: Cutting against the grain reduces the mechanical effort required to chew the meat. It effectively "pre-chews" the beef for a more luxurious dining experience.
6. The Reheat and Emulsification
Bring your reserved liquid (the "juice") to a gentle simmer. Skim off the solidified fat. Dip the cold, sliced beef into the hot liquid for only thirty seconds.
Pro Tip: This quick dip utilizes convection heat to warm the meat without overcooking it. It also allows the meat to reabsorb the flavorful fats that were lost during the cooling phase.
The Deep Dive
From a nutritional standpoint, Italian beef is a high-protein powerhouse. A standard six-ounce serving contains roughly 350 calories and 45 grams of protein. To make this Keto-friendly, serve the beef in a bowl over sautéed peppers rather than on a roll. For a Vegan alternative, use thinly sliced seitan or king oyster mushrooms, using a mushroom-based dashi for the dipping liquid to mimic the savory depth of beef.
The Fix-It: Common Pitfalls
- Tough Meat: Usually caused by undercooking. If the meat resists the fork, put it back in the liquid for another forty-five minutes.
- Salty Gravy: If the juice is too salty, add a peeled potato to the liquid for twenty minutes to absorb excess sodium, then discard the potato.
- Shredded Slices: This happens if the meat is too warm. Ensure the roast is chilled to at least 40 degrees Fahrenheit before slicing.
Meal Prep and Reheating: To maintain "day-one" quality, store the sliced meat and the juice in separate containers. When reheating, warm the juice first in a small pot, then add the meat. Never microwave the meat alone; the electromagnetic waves will vibrate the water molecules too violently, resulting in a rubbery texture.
The Wrap-Up
Mastering sliced italian beef recipes is a rite of passage for any serious home cook. It requires a blend of patience, precision, and an understanding of how heat interacts with protein. By focusing on the sear, the chill, and the thinness of the slice, you are creating a sandwich that is more than just food; it is a technical achievement. Load it onto a crusty Italian roll, top it with extra giardiniera, and do not be afraid to "dip" the entire sandwich into the jus. You have earned it.
The Kitchen Table
What is the best cut of meat for Italian beef?
The top round or bottom round is ideal. These lean cuts provide the structural integrity needed for thin, clean slices while remaining tender after a long, slow braise in aromatic liquid.
Why do I need to chill the beef before slicing?
Chilling firms up the fats and muscle fibers. This prevents the meat from crumbling or shredding, allowing you to achieve the signature deli-style ribbons that hold onto the flavorful jus.
Can I make this recipe in a pressure cooker?
Yes, you can use a pressure cooker to speed up the process. Cook on high pressure for about 60 to 80 minutes, but still allow for a full natural pressure release to keep the meat juicy.
How do I make the "juice" more flavorful?
Always deglaze your searing pan with broth to capture the fond. Additionally, adding a splash of Worcestershire sauce or a parmesan rind to the simmering liquid provides an extra layer of savory umami.