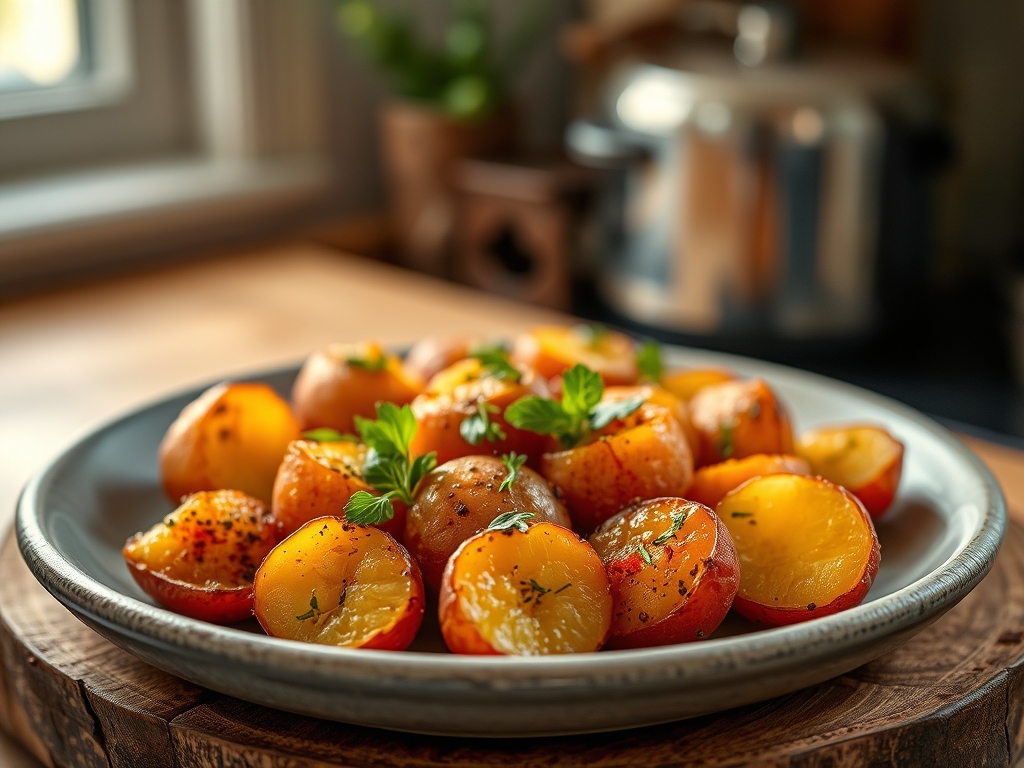
Imagine the sound of a knife blade shattering through a glass-like crust into a center so fluffy it practically dissolves on contact. That is the gold standard for red potato recipes in oven preparation. We are moving past the era of the soggy, sad spud; those lackluster wedges that look more like boiled cardboard than a side dish. Red potatoes are unique because of their high moisture and low starch content. They hold their shape with stubborn pride, making them the perfect canvas for high-heat roasting. When you master the chemistry of the Maillard reaction, you transform these waxy gems into caramelized masterpieces. We are going to harness the power of convection and surface area to ensure every single bite delivers a sharp, audible crunch. Grab your apron and clear your counter. We are about to turn your kitchen into a high-performance laboratory where the only variable is just how many "stolen" bites you can take before dinner is actually served.
The Gathers:
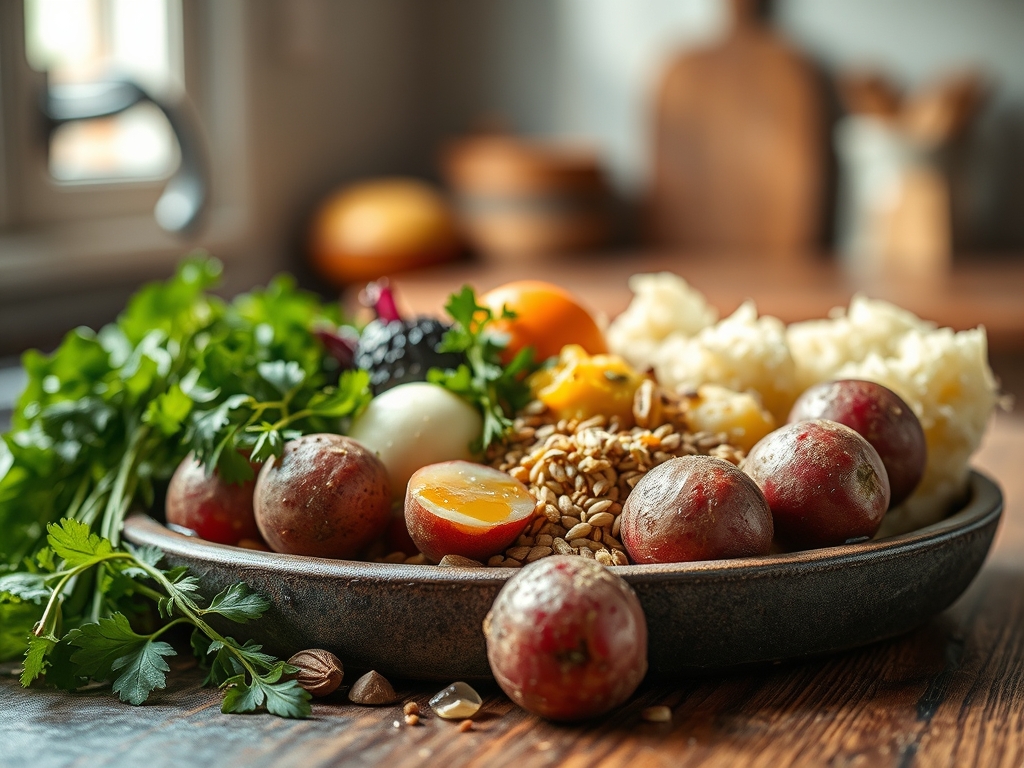
To achieve the ultimate texture, your mise-en-place must be precise. Start with three pounds of firm red potatoes. Look for skins that are taut rather than shriveled; this indicates the cellular structure is still hydrated. You will need a high-quality fat with a high smoke point. While butter tastes divine, its milk solids burn at 350 degrees Fahrenheit. Instead, reach for avocado oil or clarified butter (ghee) to withstand the intense heat required for crisping.
You will also need kosher salt for its jagged crystal structure, which adheres better to the skin than fine table salt. Fresh rosemary and garlic are non-negotiable for aromatics, but we will treat them with scientific respect to avoid bitterness. For the "Smart Substitutions," if you are out of fresh herbs, use a pinch of smoked paprika to add a piquant depth. If you want a more viscous coating, a teaspoon of cornstarch tossed with the dry potatoes creates a slurry that dehydrates into a micro-thin, ultra-crunchy shell. Use a digital scale to ensure your potato chunks are uniform; consistency in mass leads to consistency in cook time.
The Clock
Efficiency in the kitchen is all about "Chef's Flow." Total active prep time is roughly 15 minutes, while the oven does the heavy lifting for 35 to 45 minutes. You start by preheating your oven and your sheet pan simultaneously. This "pre-searing" technique ensures the potatoes hit a hot surface immediately, preventing them from sticking. While the oven climbs to 425 degrees Fahrenheit, you wash, dry, and chop. The goal is to minimize the time the cut potatoes sit out. Once exposed to oxygen, the enzymes begin to oxidize, turning the flesh gray. By the time your timer dings, you should be ready to slide your seasoned tray into the rack. This overlap ensures you aren't standing around waiting for air to heat up while your ingredients lose their integrity.
The Masterclass
1. The Precision Cut
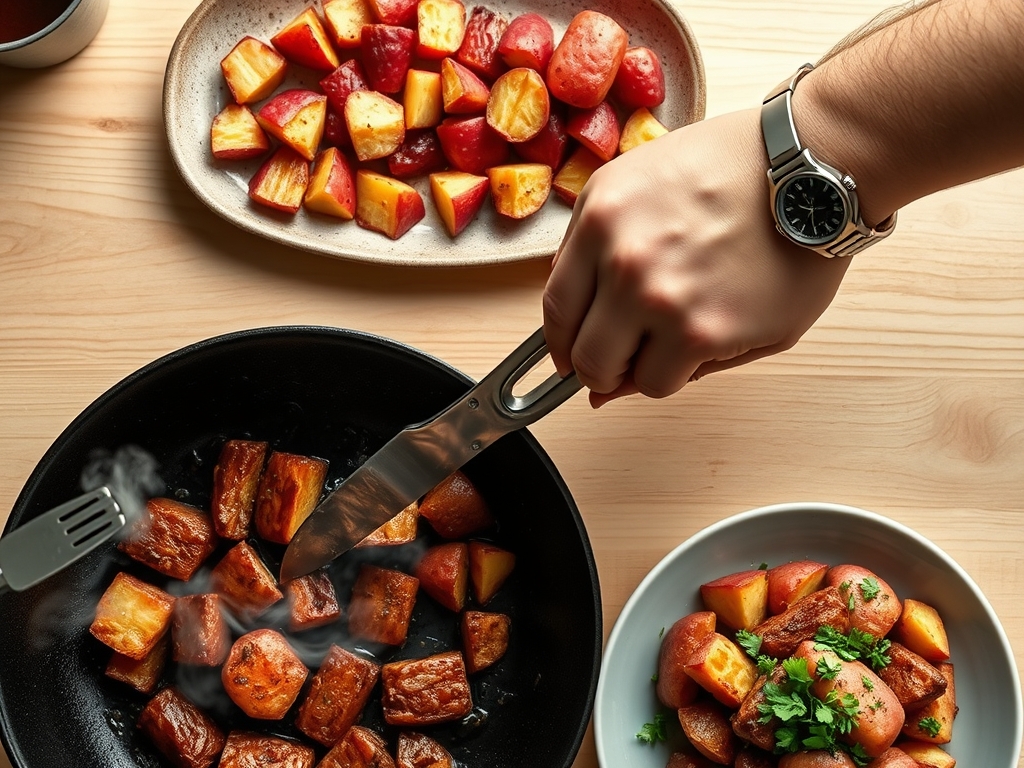
Using a sharp chef's knife, halve your red potatoes and then quarter them into uniform one-inch cubes. If the potatoes vary in size, adjust your cuts so the total volume of each piece is identical. This ensures that every piece reaches the ideal internal temperature at the exact same moment.
Pro Tip: This is about surface area-to-volume ratio. By creating more flat edges, you increase the space available for the Maillard reaction to occur, resulting in more "crunch real estate" per bite.
2. The Dehydration Soak
Place your cut potatoes in a bowl of ice-cold water for ten minutes. This removes excess surface starch that can lead to a gummy texture. After soaking, use a clean kitchen towel to bone-dry every single piece. Water is the enemy of the crisp; any residual moisture will create steam, which softens the exterior.
Pro Tip: This prevents enzymatic browning and removes "free starch." When free starch hits hot oil, it creates a sticky film. Removing it allows the heat to penetrate the skin directly for a cleaner snap.
3. The Emulsified Coating
In a large mixing bowl, whisk your oil, salt, and cracked pepper until the salt is suspended. Toss the potatoes vigorously. You want to see a thin, shimmering film on every surface. Do not add fresh garlic yet; it will burn and turn acrid during the long roast.
Pro Tip: Use a saucier or a deep bowl to toss with force. This mechanical agitation "scuffs" the edges of the potatoes, creating a starchy paste that eventually hardens into the "glass" crust we crave.
4. The Preheated Blast
Slide your potatoes onto the preheated heavy-duty baking sheet. You should hear an immediate sizzle. Arrange them in a single layer with at least half an inch of space between each piece. If you crowd the pan, the moisture escaping the potatoes will trap steam between them, resulting in a mushy texture.
Pro Tip: This utilizes conductive heat. By heating the pan first, you jump-start the rendering of the fats, ensuring the bottom of the potato starts frying the second it touches the metal.
5. The Aromatics Infusion
Ten minutes before the timer ends, use tongs to flip the potatoes. Now, add your minced garlic and fresh rosemary. By adding these late, you infuse the oil with their volatile oils without carbonizing the delicate plant matter.
Pro Tip: This avoids thermal degradation of the garlic's allicin. Adding garlic too early destroys its sweetness and replaces it with a harsh, burnt flavor profile.
6. The Carryover Rest
Once the potatoes are deep golden brown, remove the pan from the oven. Do not serve them immediately. Let them sit on the hot pan for three minutes. Use a bench scraper to loosen any bits that have fused to the pan.
Pro Tip: This accounts for thermal carryover. The internal heat continues to cook the center, while the drop in ambient temperature allows the exterior crust to fully set and harden into its final, crispy state.
The Deep Dive
Nutritiously, red potatoes are a powerhouse of potassium and Vitamin C, especially when the skin is left intact. For a Vegan swap, stick with high-quality olive oil. For Keto enthusiasts, unfortunately, potatoes are high-carb, but you can apply these exact same "hacks" to cauliflower florets for a similar textural experience. If you are Gluten-Free, you are already in the clear; just ensure your spices are certified.
"The Fix-It" section:
- Soggy Potatoes: Usually caused by overcrowding. Fix: Split the batch onto two pans.
- Burnt Bottoms: Your oven rack is too low. Fix: Move the pan to the top third of the oven to utilize radiant heat from the ceiling.
- Bland Interior: You didn't salt early enough. Fix: Salt the potatoes while they are wet from the soak so the saline can penetrate the surface via osmosis.
For meal prep, never reheat these in a microwave; the waves agitate water molecules and turn the crust into rubber. Instead, use an air fryer at 400 degrees for four minutes or a heavy-bottomed skillet on the stovetop to re-crisp the base.
The Wrap-Up
You are now armed with the molecular secrets to the perfect side dish. These red potato recipes in oven techniques turn a humble root vegetable into a culinary event. Remember: dry the surface, respect the space on the pan, and never underestimate the power of a preheated sheet. Go forth and roast with confidence; your dinner guests (and your taste buds) are going to be absolutely floored by the crunch.
The Kitchen Table
Why are my roasted red potatoes always soft?
Softness usually stems from steam. If you crowd the pan or fail to dry the potatoes thoroughly after washing, they will steam rather than fry. Ensure each piece has breathing room and is bone-dry before adding oil.
Do I need to peel red potatoes for roasting?
No, the skin is the best part. Red potato skins are thin and delicate, providing a beautiful textural contrast and holding the potato's shape. They also contain the majority of the fiber and nutrients found in the vegetable.
What is the best temperature for roasting potatoes?
The "sweet spot" is 425 degrees Fahrenheit. This temperature is high enough to trigger the Maillard reaction and evaporate moisture quickly, but not so high that the fats in your oil reach their flash point and begin to smoke.
Can I use dried herbs instead of fresh?
Yes, but add them at the beginning with the oil. Dried herbs need time to rehydrate and release their oils. However, fresh herbs added at the end provide a much brighter, more sophisticated flavor profile.
How do I get the salt to stick to the potatoes?
Toss the potatoes in oil first. The oil acts as a biological glue. Using kosher salt or sea salt also helps, as the larger, irregular grains "grip" the textured surface of the potato better than fine table salt.