Imagine the smell of a winter kitchen where the air is heavy with the scent of roasted marrow and caramelized onions. There is a specific kind of magic in the pop of a sealing lid; it is the sound of time being captured in a jar. When you master canning beef recipes, you are not just preserving food; you are building a library of instant gourmet meals. Picture a Tuesday night where you pull a jar of fork-tender brisket from the shelf, its juices shimmering with rendered collagen, ready to be tossed into a pan for a three-minute ragu. This process is the ultimate intersection of domestic art and rigorous laboratory science. We are moving beyond basic preservation into the realm of high-end culinary styling. By understanding how heat transforms muscle fiber into silk, you can ensure your pantry is stocked with restaurant-quality proteins that defy the "canned food" stereotype. Let us roll up our sleeves and get into the molecular grit of the perfect jar.
The Gathers:
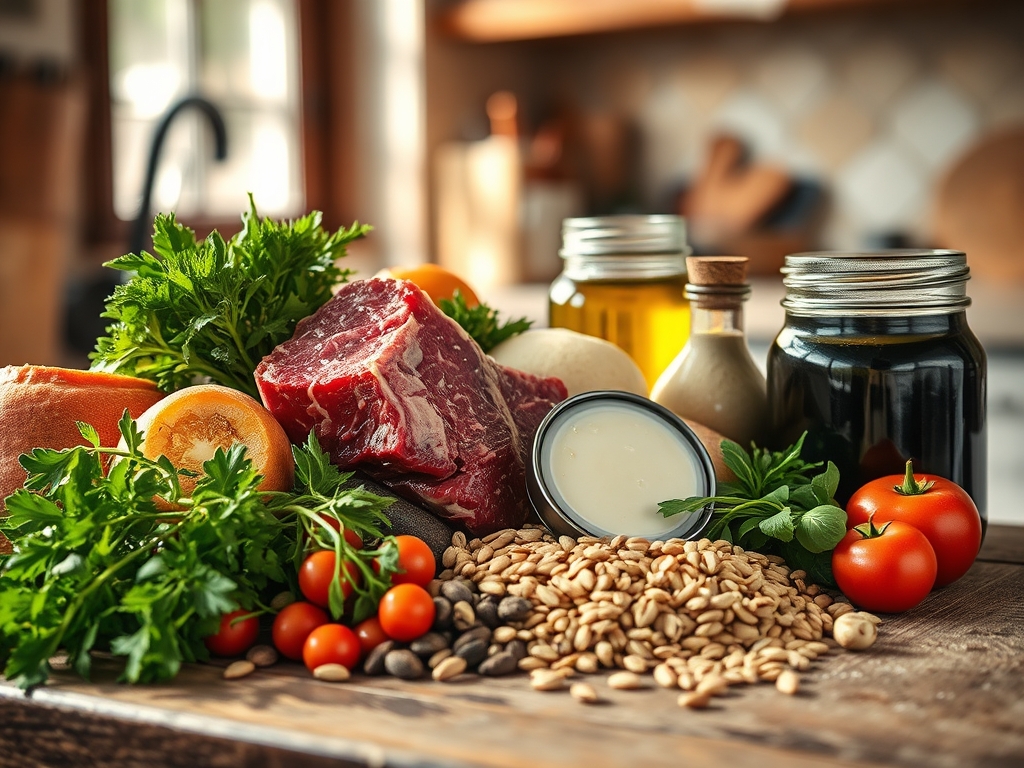
To achieve a superior result, your mise-en-place must be precise. Start with a high-quality cut like chuck roast or bottom round; these contain the necessary connective tissue that breaks down into gelatin during the long thermal processing. You will need a heavy-bottomed skillet for the initial sear and a digital scale to ensure consistent weight across all jars. Your liquid component should be a viscous, house-made bone broth rather than water to maximize the infusion of flavor. Use a microplane to zest in aromatics like garlic or ginger if you are leaning toward an Asian-inspired profile.
Smart Substitutions: If you are avoiding sodium, replace traditional salt with a splash of coconut aminos for a piquant depth. For those wanting a leaner profile, venison or elk can be swapped for beef, though you must add a small amount of beef tallow to ensure the meat does not become stringy and dry. Always use non-iodized salt to prevent the liquid from turning cloudy; a high-quality sea salt or pickling salt is the professional standard.
The Clock:
The "Chef's Flow" is all about overlapping tasks to minimize downtime. Expect to spend 45 minutes on active prep, which includes trimming the silver skin with a sharp boning knife and cubing the protein into uniform one-inch pieces. The searing phase takes approximately 20 minutes; do not crowd the pan, or the meat will steam instead of brown. Once the jars are packed and the pressure canner reaches its target, the processing time is 75 minutes for pints or 90 minutes for quarts. However, the true "clock" includes the natural cooling period, which can take up to two hours. Never rush this; a sudden drop in pressure causes siphoning, where the liquid is sucked out of the jar, ruining your seal.
The Masterclass:
1. The Maillard Execution
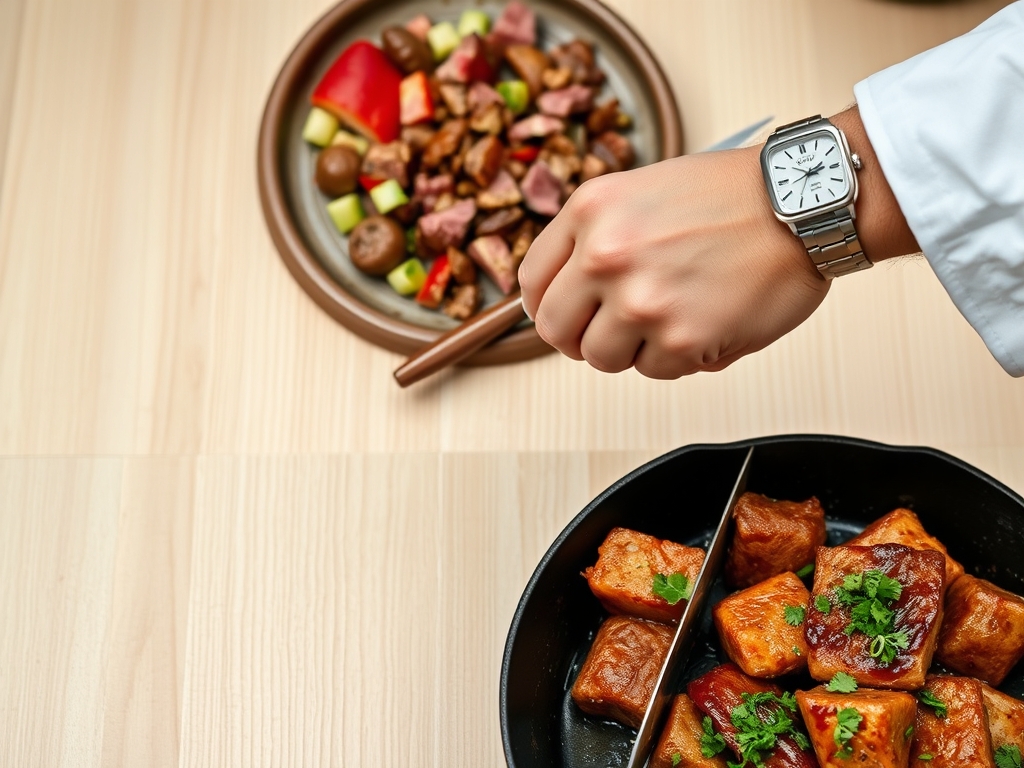
Begin by heating your heavy-bottomed skillet until it is screaming hot. Use tongs to place your beef cubes in a single layer. You are looking for a deep, mahogany crust on at least two sides of each cube. This is not about cooking the meat through; it is about creating complex flavor compounds that will infuse the entire jar during the canning process.
Pro Tip: This is the Maillard reaction in action. By browning the meat first, you create melanoidins that provide a savory "umami" punch. Without this step, canned beef can taste "boiled" and one-dimensional.
2. The Deglaze and Saucier Prep
Once the meat is seared and removed, use a saucier to heat your broth. Pour a small amount of liquid into the hot browning pan and use a bench scraper or wooden spoon to lift the "fond" (the brown bits) from the bottom. This liquid is liquid gold and should be added back into your main broth.
Pro Tip: Deglazing captures the concentrated proteins and sugars left in the pan. This prevents enzymatic browning from becoming bitter and instead turns it into a rich, savory base.
3. Packing with Precision
Pack the seared beef into sterilized jars, leaving exactly one inch of headspace. Use a plastic bubble remover to aerate the jar, ensuring no trapped oxygen remains between the cubes. Trapped air can lead to discoloration and spoilage over time.
Pro Tip: Headspace is a physical requirement for a vacuum seal. If you overfill, the expanding liquid will interfere with the lid's gasket, preventing a long-term shelf-stable bond.
4. The Seal and Vent
Wipe the rims with a clean cloth dipped in white vinegar to remove any traces of fat. Place the lids and turn the rings until they are fingertip tight. Place the jars in the canner and allow steam to vent for a full 10 minutes before bringing it up to pressure.
Pro Tip: Vinegar is essential because it cuts through residual fat. Even a microscopic layer of grease can prevent the plastisol liner on the lid from adhering to the glass.
5. Thermal Processing
Maintain a steady pressure based on your altitude. Fluctuations in pressure can cause the meat to toughen or the jars to lose liquid. Once the timer is up, turn off the heat and walk away.
Pro Tip: This stage utilizes thermal carryover. The internal temperature of the meat continues to rise slightly even after the heat is off, ensuring that every pathogen is neutralized while the collagen fully melts into gelatin.
The Deep Dive:
From a macro perspective, canned beef is a protein powerhouse, offering roughly 25 grams of protein per four-ounce serving with zero carbohydrates. For those on a Keto diet, the high fat-to-protein ratio of chuck roast is ideal. Vegan alternatives for this process include canned jackfruit or seitan, though these require different acidification levels and are generally not recommended for pressure canning without a lab-tested recipe. For a Gluten-Free approach, ensure your broth is certified and avoid using flour to thicken the mixture before canning; use a cornstarch slurry only when reheating.
The Fix-It:
- Cloudy Liquid: Usually caused by impurities in the salt or minerals in hard water. Fix: Use distilled water and pickling salt.
- Loss of Liquid: Caused by rapid pressure changes. Fix: Let the canner cool naturally for 45 minutes before opening the lid.
- Dry Meat: Caused by using cuts that are too lean. Fix: Add a teaspoon of lard or tallow to each jar before sealing.
When it comes to reheating, the science of "day-one" quality lies in gentle warming. Do not microwave. Instead, empty the jar into a small pot and simmer over low heat. This allows the gelatin to re-liquefy without tightening the muscle fibers, maintaining that "melt-in-your-mouth" texture.
The Wrap-Up:
You are now officially a master of the pantry. Canning beef recipes is more than a chore; it is a sophisticated way to ensure your kitchen is always ready for a culinary emergency or a last-minute dinner party. By focusing on the Maillard reaction, precise headspace, and the chemistry of the seal, you have elevated a humble preservation method into a high-art form. Go forth, fill your shelves, and enjoy the peace of mind that comes with a perfectly preserved, protein-packed larder. Your future self will thank you for the effort today!
The Kitchen Table:
Can I can raw beef without browning it first?
Yes, this is called the "raw pack" method. However, browning provides superior flavor and texture. Raw packing often results in a solid mass of meat that is less visually appealing and lacks the deep umami notes of seared beef.
How long does home-canned beef stay safe to eat?
For peak quality, consume your canned beef within 12 to 18 months. While the seal may remain intact for years, the texture and nutritional value will gradually decline. Always store jars in a cool, dark, and dry location.
Why is my canned beef sometimes dark on top?
This is usually caused by oxidation if there was too much headspace or if the liquid did not fully cover the meat. While often safe, it can affect flavor. Ensure proper headspace and use a bubble remover tool.
Do I need a pressure canner for beef recipes?
Absolutely. Beef is a low-acid food and must be processed in a pressure canner to reach 240 degrees Fahrenheit. This is the only way to safely kill botulism spores; water bath canning is never safe for meat.