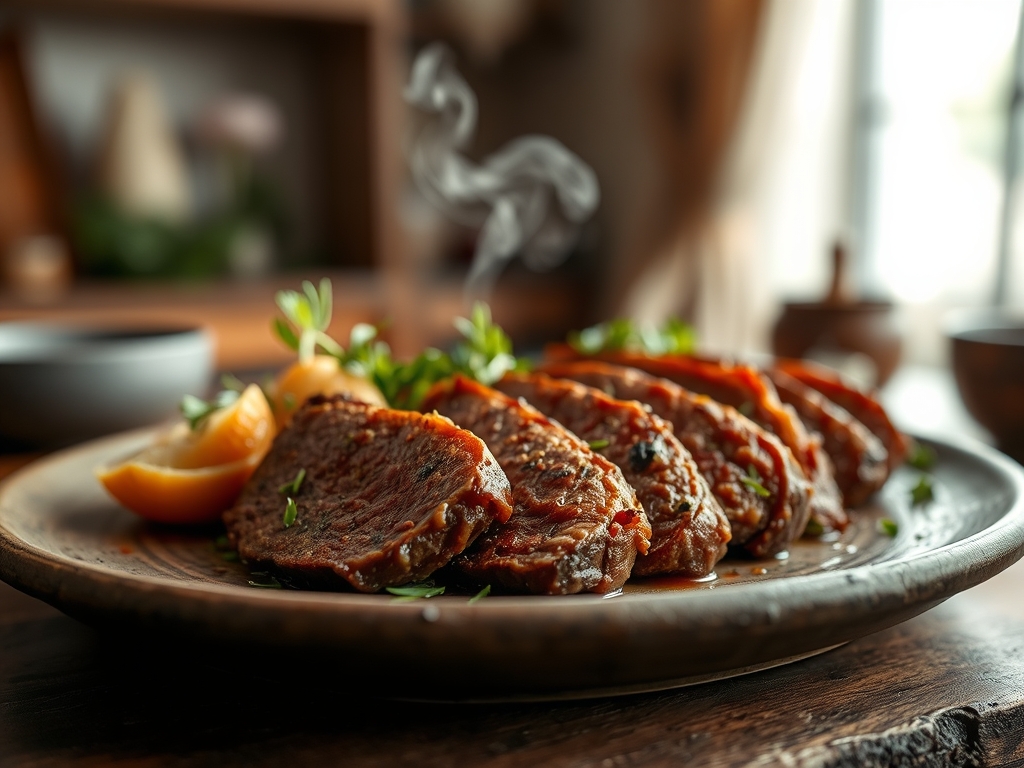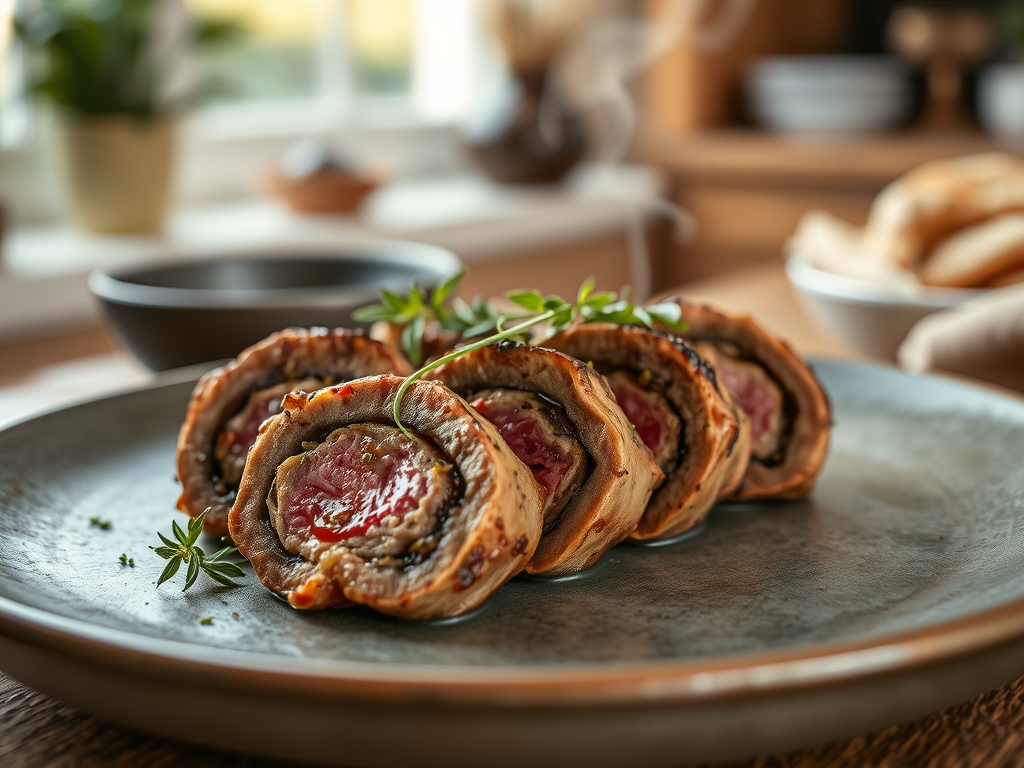
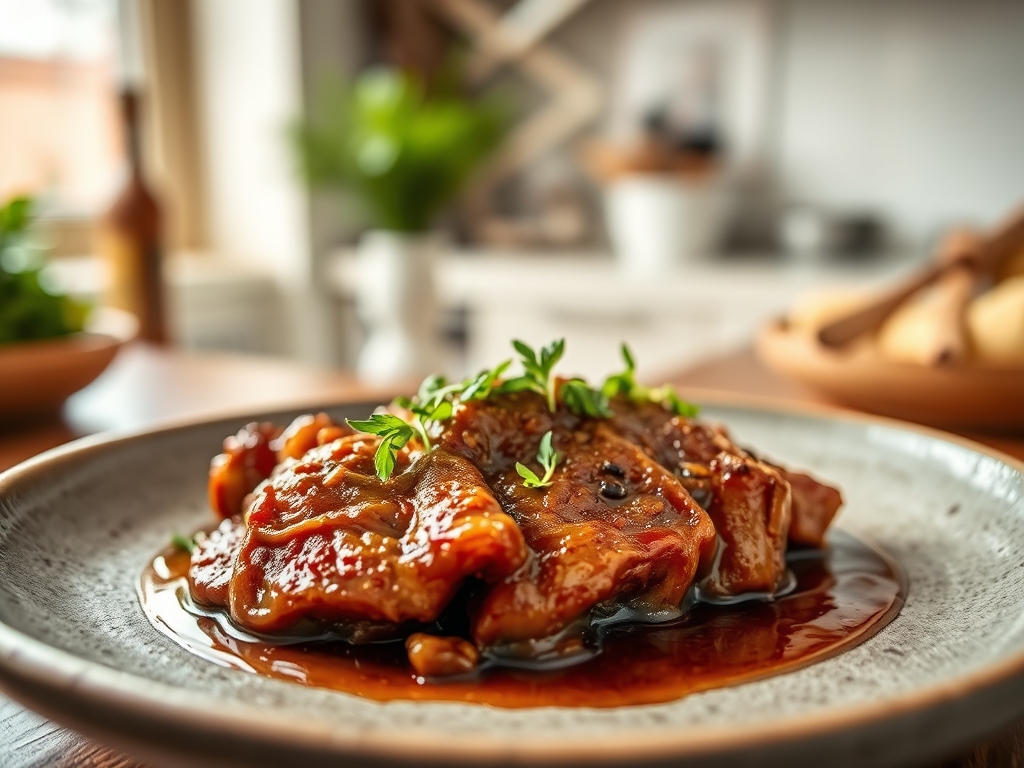
Imagine a kitchen filled with the intoxicating scent of slow-simmered rosemary and caramelized fat; that is the siren song of the ultimate comfort meal. When you master drip beef recipes, you are not just cooking dinner; you are performing a transformative act of alchemy on a humble chuck roast. These dishes are defined by meat so tender it surrenders at the mere suggestion of a fork, bathed in a glossy, concentrated jus that demands a crusty baguette for dipping.
To achieve that signature "drip" status, we rely on the slow breakdown of tough connective tissues into silky gelatin. It is a process that requires patience but yields a reward far greater than the sum of its parts. Whether you are piling it high on a toasted hoagie or serving it over a mountain of buttery mash, the goal is always the same: maximum moisture retention and a flavor profile that resonates with deep, umami richness. We are going to explore six variations of this classic, ranging from zesty Italian-inspired pots to smoky, bourbon-infused renditions. Get your heavy-bottomed skillet ready because we are about to elevate your Sunday roast game to professional heights.
The Gathers:
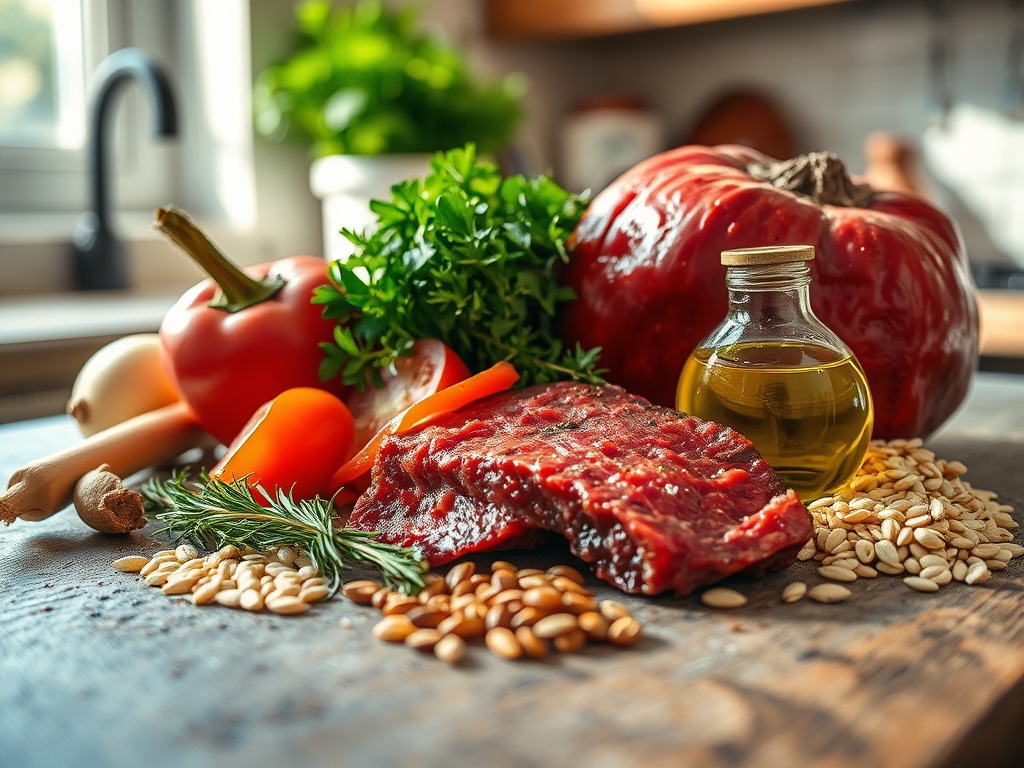
The foundation of any superior drip beef recipe starts with the selection of the protein. You want a Choice or Prime grade chuck roast weighing approximately four to five pounds. This specific cut is prized for its intramuscular fat and high collagen content. As the meat braises, that collagen melts into gelatin, providing a viscous mouthfeel that leaner cuts like round roast simply cannot replicate.
Beyond the beef, your mise-en-place should include high-quality aromatics. Gather whole cloves of garlic, sliced yellow onions for their high sugar content, and a bouquet garni of fresh thyme and bay leaves. For the liquid base, avoid standard canned broths; instead, opt for a low-sodium beef stock or a "better than bouillon" paste to control the salinity. You will also need a piquant element to cut through the richness, such as pepperoncini peppers or a splash of red wine vinegar.
Smart Substitutions:
If you cannot find a chuck roast, a bottom round or brisket can work, though they may require a slightly longer cook time to reach peak tenderness. For a deeper flavor profile, swap half of the beef stock for a dry red wine like Cabernet Sauvignon to deglaze the pan. If you are looking for a shortcut on aromatics, a high-quality dry onion soup mix can provide a concentrated hit of savory flavor, though fresh ingredients are always preferred for their complex volatile oils.
The Clock
Efficiency in the kitchen is all about the Chef's Flow. This is the art of overlapping tasks so that your hands are never idle while the heat does the heavy lifting. For these drip beef recipes, expect a Prep Time of 20 minutes and a Cook Time of 8 to 10 hours on low heat (or 4 to 5 hours on high).
The flow begins with the "Sear and Clear" phase. While your heavy-bottomed skillet or Dutch oven preheats, you season the meat. While the meat sears, you chop your aromatics. Once the beef is tucked into the slow cooker or oven, your active work is done. The final "Rest and Shred" phase takes about 15 minutes at the end. This cadence ensures that by the time the timer dings, your kitchen is already clean, and you are ready to serve.
The Masterclass
1. The Maillard Sear
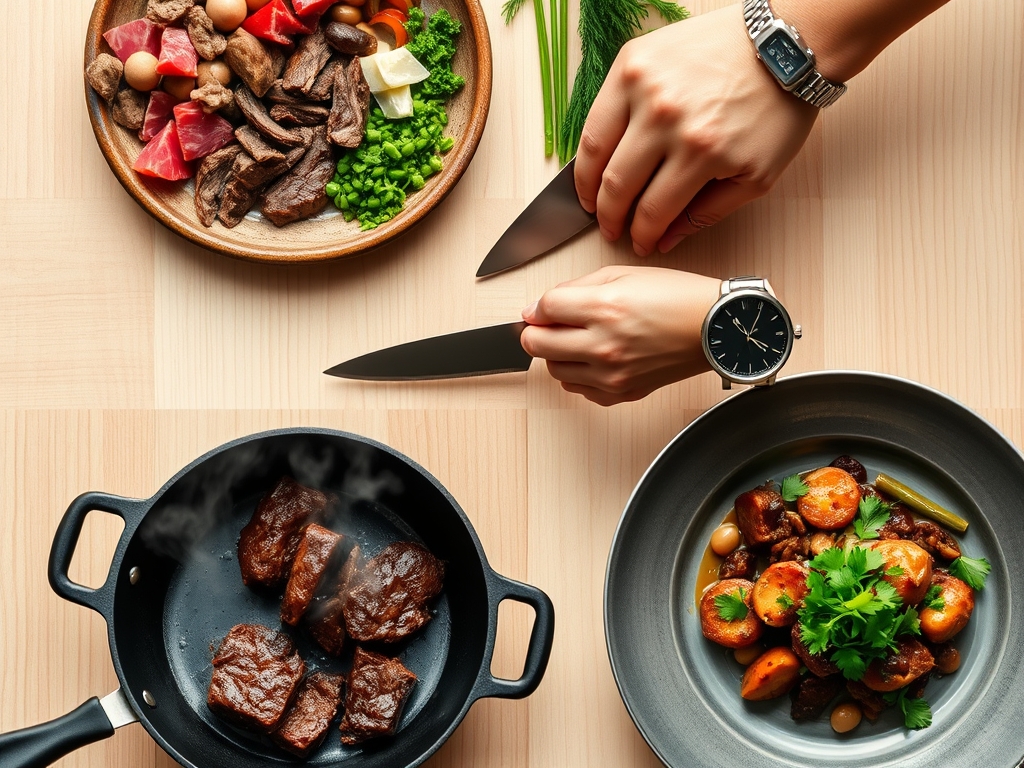
Place your roast on a clean surface and pat it bone-dry with paper towels. Season aggressively with kosher salt and cracked black pepper. Heat a heavy-bottomed skillet with a high-smoke-point oil until it shimmers. Sear the beef for 4 minutes per side until a deep, dark crust forms.
Pro Tip: This is the Maillard Reaction at work. By searing the exterior, you create hundreds of new flavor compounds that do not exist in raw meat. Moisture is the enemy of the sear; if the meat is wet, it will steam instead of brown.
2. Deglaze and Infuse
Remove the meat and toss in your sliced onions. Use a wooden spatula to scrape up the "fond," those delicious brown bits stuck to the bottom. Pour in a half-cup of liquid (wine or stock) to lift those flavors back into the sauce.
Pro Tip: Deglazing is a chemical extraction process. The alcohol or acid in the liquid dissolves the flavor-rich proteins and sugars attached to the pan, ensuring no taste is wasted.
3. The Low and Slow Braise
Transfer the beef and the deglazed liquid into your slow cooker or Dutch oven. Add your remaining stock, garlic, and herbs. Ensure the liquid covers at least half of the meat to prevent drying. Cover tightly to trap steam.
Pro Tip: Maintaining a temperature between 190 and 205 degrees Fahrenheit is the sweet spot. This is the thermal window where collagen denatures into gelatin without the muscle fibers becoming tough and stringy.
4. The Fat Separation
Once the meat is tender, remove it to a cutting board. Pour the cooking liquid through a fine-mesh strainer into a saucier. Use a fat separator or a large spoon to remove the excess rendered tallow from the top.
Pro Tip: Removing excess fat prevents a "greasy" mouthfeel. However, keep a small amount of the fat to emulsify back into the sauce for a silky, professional finish.
5. The Strategic Shred
Using two forks or tongs, pull the beef apart into large, succulent chunks rather than fine shreds. This preserves the texture and prevents the meat from becoming mushy when it hits the bread.
Pro Tip: This is the "Resting Phase." Allowing the meat to sit for 10 minutes before shredding helps the muscle fibers reabsorb the internal juices through capillary action, keeping every bite moist.
6. The Final Reduction
Simmer the strained liquid in your saucier over medium-high heat until it reduces by one-third. Taste and adjust seasoning, perhaps adding a squeeze of lemon or a dash of Worcestershire sauce for balance. Return the meat to the liquid to coat.
Pro Tip: Reducing the liquid concentrates the solutes (salts and sugars), increasing the viscosity of the jus. This ensures the sauce clings to the beef rather than just running off the plate.
The Deep Dive
Macro Nutrition:
A standard serving of drip beef is a protein powerhouse. Expect approximately 35g of protein and 18g of fat per 6-ounce serving. While the sodium can be high due to the braising liquid, you can manage this by using homemade stocks and limiting added salt.
Dietary Swaps:
- Keto: Serve the beef over cauliflower mash or in lettuce wraps. The natural fats make this a perfect ketogenic staple.
- Gluten-Free: Ensure your beef stock and any thickening agents (like cornstarch) are certified GF.
- Vegan: While you cannot "drip" a plant in the same way, a King Oyster Mushroom or Jackfruit braise using the same aromatic profile offers a surprisingly similar texture.
The Fix-It:
- Too Salty? Add a peeled, halved potato to the pot for the last 30 minutes; it will act as a sponge for excess salt.
- Meat is Tough? It likely hasn't cooked long enough. If the collagen hasn't melted, the meat will feel rubbery. Give it another hour.
- Sauce is Thin? Whisk a teaspoon of cornstarch with cold water to create a slurry and stir it into the boiling jus to aerate and thicken.
Meal Prep & Reheating:
Drip beef is actually better on day two. As it cools, the flavors continue to infuse. To reheat, use a gentle simmer on the stovetop rather than the microwave. This prevents the proteins from tightening up and becoming "rubbery."
The Wrap-Up
Mastering drip beef recipes is a rite of passage for any home cook looking to bridge the gap between "good" and "gourmet." By understanding the science of the Maillard reaction and the patience required for collagen breakdown, you have turned a simple cut of meat into a culinary masterpiece. Now, go grab the best rolls you can find, toast them with a bit of garlic butter, and prepare for the most satisfying drip of your life. Your kitchen, your rules, and your incredibly lucky guests await!
The Kitchen Table
What is the best cut of meat for drip beef?
The chuck roast is the gold standard. Its high fat and collagen content ensure the meat stays juicy and shreds easily after a long braise. Avoid lean cuts like eye of round, which can become dry and "mealy."
Can I make drip beef in a pressure cooker?
Yes, you can use an Instant Pot to save time. Set it to high pressure for 60 to 90 minutes with a natural release. While faster, the flavor depth may be slightly less complex than a slow-simmered version.
How do I prevent my drip beef from being too greasy?
Use a fat separator or chill the cooking liquid overnight so the fat hardens on top for easy removal. Alternatively, use a slice of bread to blot the surface of the jus before serving to absorb excess oil.
How long does leftover drip beef stay fresh?
Store leftovers in an airtight container with the jus for up to four days in the refrigerator. For longer storage, drip beef freezes beautifully for up to three months; just ensure it is completely submerged in liquid.