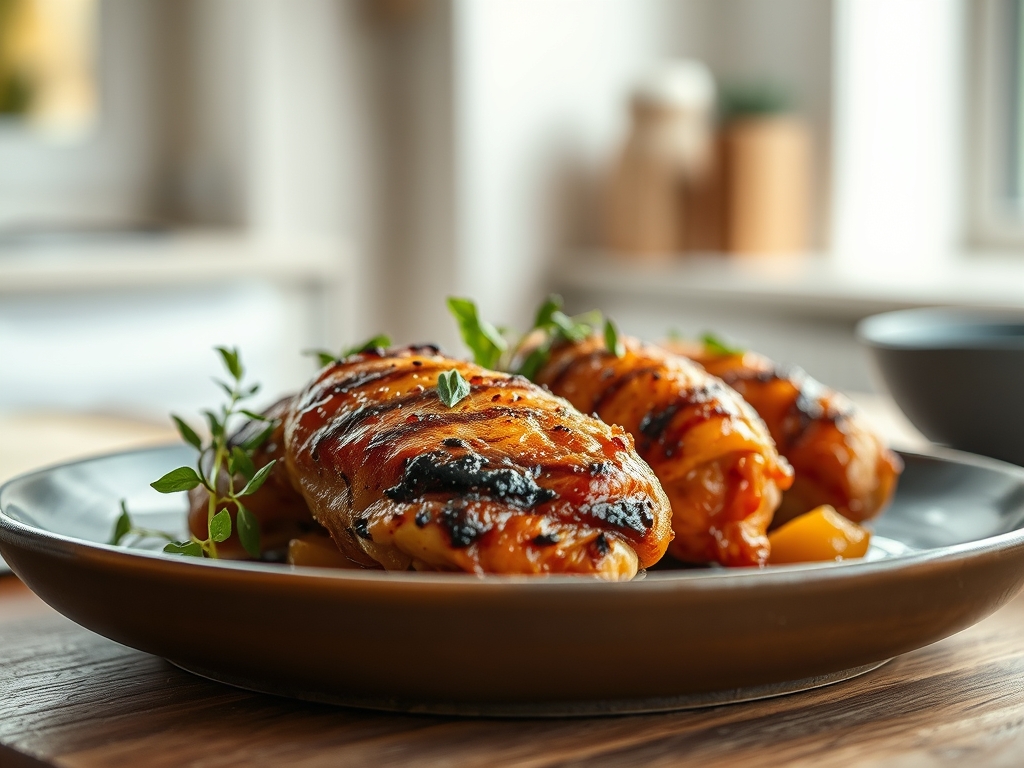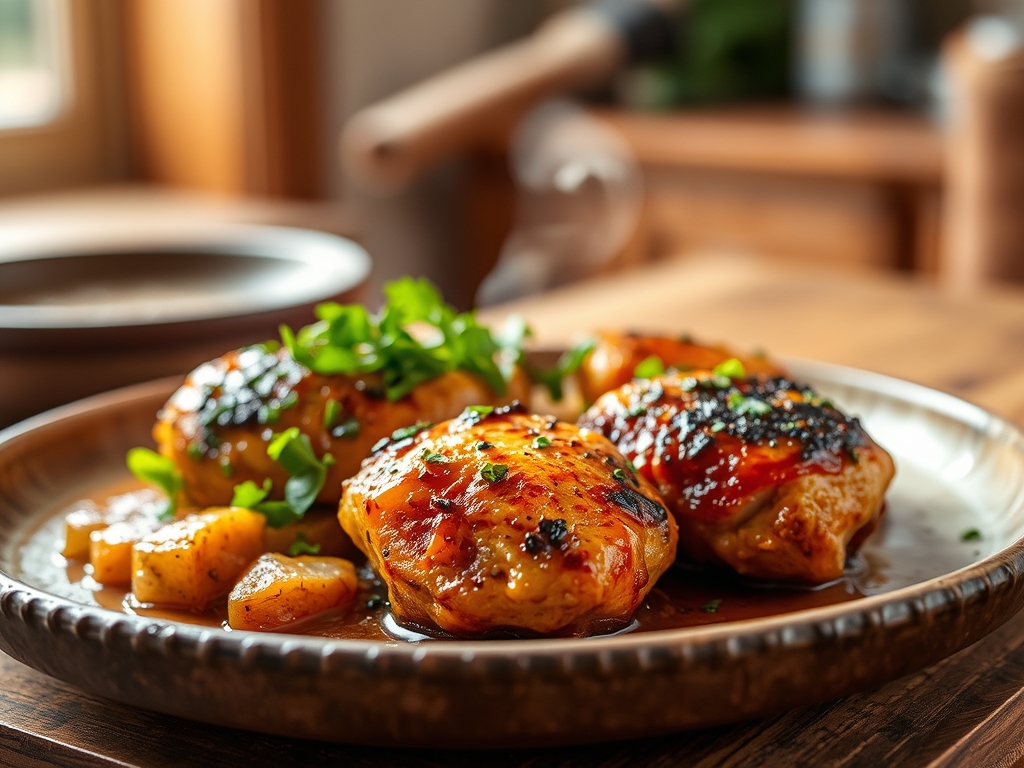
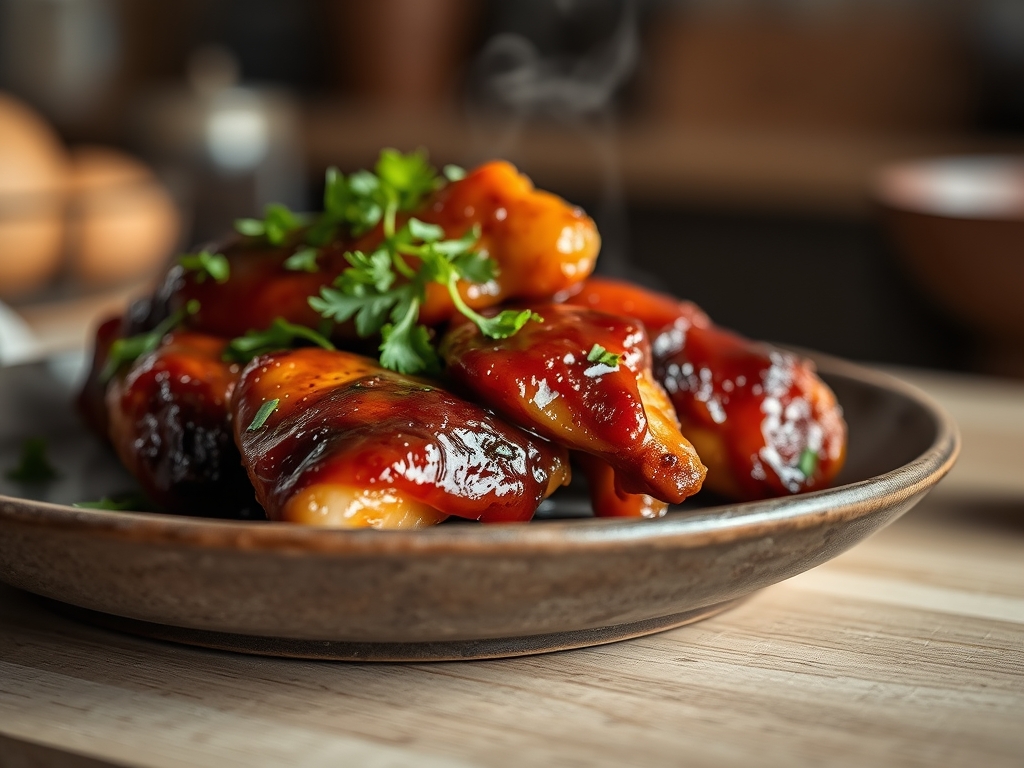
Imagine the air thick with the scent of charred oak and floral nectar as a heavy-bottomed skillet sizzles on the stove. There is a specific, primal joy in mastering honey bbq chicken recipes that balance the edge of smoke with the velvet pull of sugar. It is the culinary equivalent of a perfect summer sunset; warm, golden, and deeply satisfying.
We are moving past the basic bottle-and-bake method. Today, we are diving into the molecular mechanics of the glaze and the structural integrity of the sear. You want that specific, tacky finish that clings to the meat without sliding off into a watery mess. It requires a bit of chemistry and a lot of passion. We are going to treat every chicken thigh like a canvas, using heat to transform simple proteins into a masterpiece of sticky, piquant perfection that will have your friends begging for the secret sauce.
The Gathers:
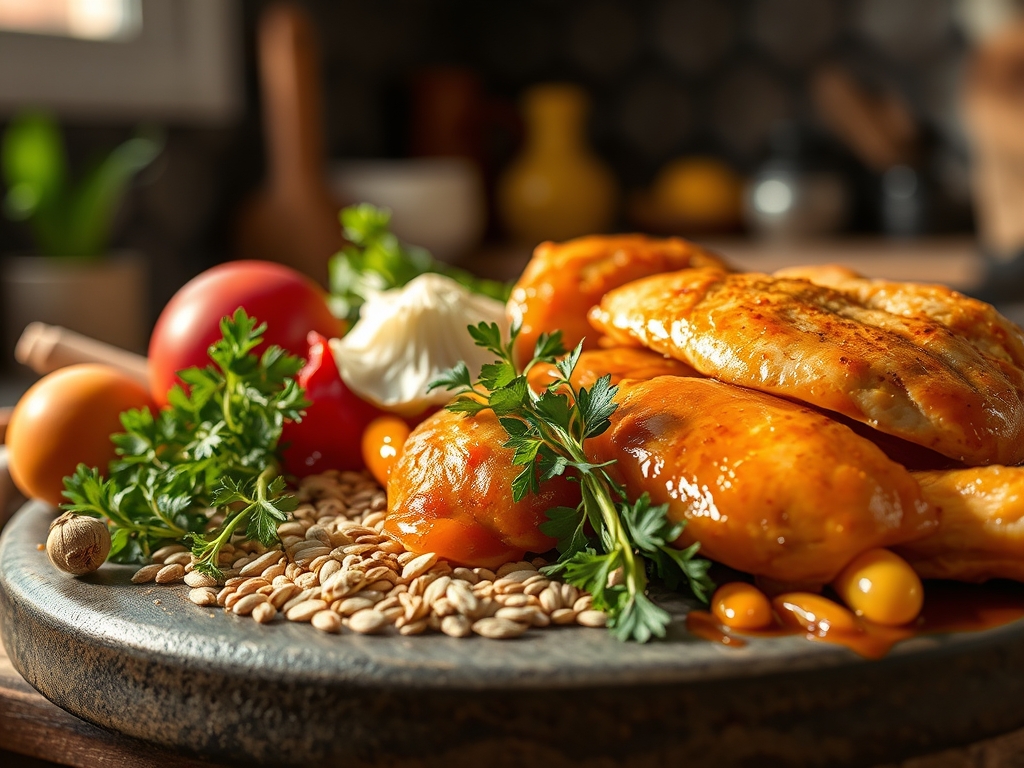
To achieve the ultimate honey bbq chicken recipes, your mise-en-place must be precise. Start with five pounds of bone-in, skin-on chicken thighs; the bone acts as a thermal conductor to ensure even cooking while the skin provides the necessary lipids for a crisp base. For the glaze, you need high-quality wildflower honey for its floral notes and a viscous texture that coats the palate. Combine this with a tomato-based concentrate, apple cider vinegar for acidity to balance the saccharine levels, and smoked paprika for that essential wood-fire depth.
Use a microplane to grate fresh garlic and ginger directly into your saucier. This creates a paste-like consistency that integrates into the sauce without leaving chunky fragments that might burn. For smart substitutions, if you lack honey, use agave nectar for a similar glycemic index but a thinner viscosity. If you are avoiding refined sugar in the base, a dash of molasses provides that deep, dark color and a hit of iron. Always use a digital scale to measure your dry spices; precision is the difference between a hint of heat and an overwhelming spice profile.
The Clock
Efficiency in the kitchen is about the Chef's Flow, which is the art of overlapping tasks to minimize downtime. Expect a total active prep time of 20 minutes and a cooking duration of 45 minutes. The flow begins with the dry brine. Salt your chicken at least 30 minutes before it hits the heat. This allows the salt to penetrate the muscle fibers through osmosis, seasoning the bird from the inside out.
While the chicken rests, you will use your saucier to reduce the glaze. This happens concurrently with the initial sear. By the time the chicken is ready for its first lacquer, the sauce has reached the perfect "nappe" consistency; thick enough to coat the back of a spoon. This synchronized timing ensures that the sugars in the honey do not spend too much time under high heat, which prevents the acrid taste of over-caramelization.
The Masterclass
1. The Dry Brine and Surface Prep
Pat the chicken extremely dry with paper towels. Use a bench scraper to clear any excess moisture from your cutting board. Season liberally with kosher salt and cracked black pepper.
Pro Tip: This step utilizes the principle of hygroscopy. Salt draws moisture out, creates a brine, and is then reabsorbed. This breaks down tough proteins, resulting in a significantly more tender bite.
2. The High-Heat Sear
Place the chicken skin-side down in a cold heavy-bottomed skillet, then turn the heat to medium-high. This allows the fat to render slowly, resulting in a paper-thin, shatteringly crisp skin.
Pro Tip: This is the Maillard Reaction in action. By starting cold, you maximize the time the skin spends in the "rendering zone" before the meat overcooks, creating hundreds of new flavor compounds.
3. The Glaze Reduction
In your saucier, whisk together the honey, tomato base, vinegar, and spices. Simmer over low heat until the volume reduces by one-third.
Pro Tip: Reducing the sauce increases the concentration of solutes. This creates a more viscous liquid that will adhere to the chicken via surface tension rather than running off into the pan.
4. The First Lacquer
Using a silicone brush, apply a thin layer of the glaze to the chicken once it reaches an internal temperature of 150 degrees Fahrenheit. Use tongs to flip the pieces gently to avoid tearing the skin.
Pro Tip: Applying the sauce late prevents the honey from burning. Honey contains fructose, which undergoes caramelization at a much lower temperature than table sugar.
5. The Final Glaze and Char
Increase the heat for the last three minutes of cooking. Apply a second, thicker coat of glaze. Watch for the sauce to bubble and darken into a deep mahogany.
Pro Tip: This step relies on thermal carryover. Remove the chicken when the digital thermometer reads 160 degrees; the internal temperature will continue to rise to the safe 165 degrees while resting.
6. The Rest and Infuse
Transfer the chicken to a warm platter and let it rest for at least eight minutes. Pour any remaining pan juices back into your sauce boat.
Pro Tip: Resting allows the muscle fibers to relax and reabsorb the internal juices. If you cut into it too soon, the moisture will escape, leaving the meat dry despite the sticky exterior.
The Deep Dive
When we look at the macro nutrition, honey bbq chicken recipes are protein powerhouses. A standard thigh serving offers roughly 25g of protein. While the honey adds carbohydrates, the fats from the rendered skin provide satiety. For a Keto version, swap the honey for a monk-fruit based syrup and use a sugar-free ketchup. For a Vegan alternative, use the same glaze over roasted cauliflower steaks or firm tofu, though you will miss the rendering of animal fats.
The Fix-It:
- Sauce is too thin: Whisk in a tiny "slurry" of cornstarch and water; the starch granules will swell and trap moisture, thickening the sauce instantly.
- Skin is soggy: This usually means the pan was crowded. Use two skillets to ensure proper airflow and steam escape.
- Burnt bottom: If the honey catches, deglaze the pan with a splash of apple juice or water to lift the charred bits before they impart a bitter flavor to the meat.
For Meal Prep, the secret to day-one quality is the reheating method. Avoid the microwave, which turns the honey into a rubbery coating. Instead, use an air fryer or oven at 350 degrees. This re-activates the sugars and crisps the skin, maintaining that essential textural contrast.
The Wrap-Up
Mastering honey bbq chicken recipes is about more than just following a list; it is about understanding how heat, sugar, and protein interact to create something spectacular. When you pull that skillet out and see the glossy, mahogany finish of the glaze, you are looking at a perfect marriage of science and soul. Go forth, use your tongs with confidence, and enjoy the stickiest, most flavorful chicken of your life!
The Kitchen Table
How do I keep the honey from burning?
Apply the honey-based glaze only during the final 10 minutes of cooking. Because fructose caramelizes at 230 degrees Fahrenheit, early application leads to carbonization and a bitter taste. Always monitor the heat levels closely during the final sear.
Can I use chicken breasts instead of thighs?
Yes, but reduce the cooking time significantly. Breasts lack the fat content and connective tissue of thighs, making them prone to drying out. Use a digital thermometer to pull them at exactly 160 degrees Fahrenheit for the best results.
What makes the sauce "sticky" rather than runny?
The stickiness comes from the reduction of water content and the concentration of sugars. By simmering your sauce in a saucier before applying it, you create a high-viscosity syrup that bonds to the protein through surface tension.
How long can I marinate the chicken?
A dry brine can last up to 24 hours in the refrigerator. However, avoid adding acidic elements like vinegar to a long-term marinade, as it can denature the protein fibers and give the chicken a mushy, unappealing texture.