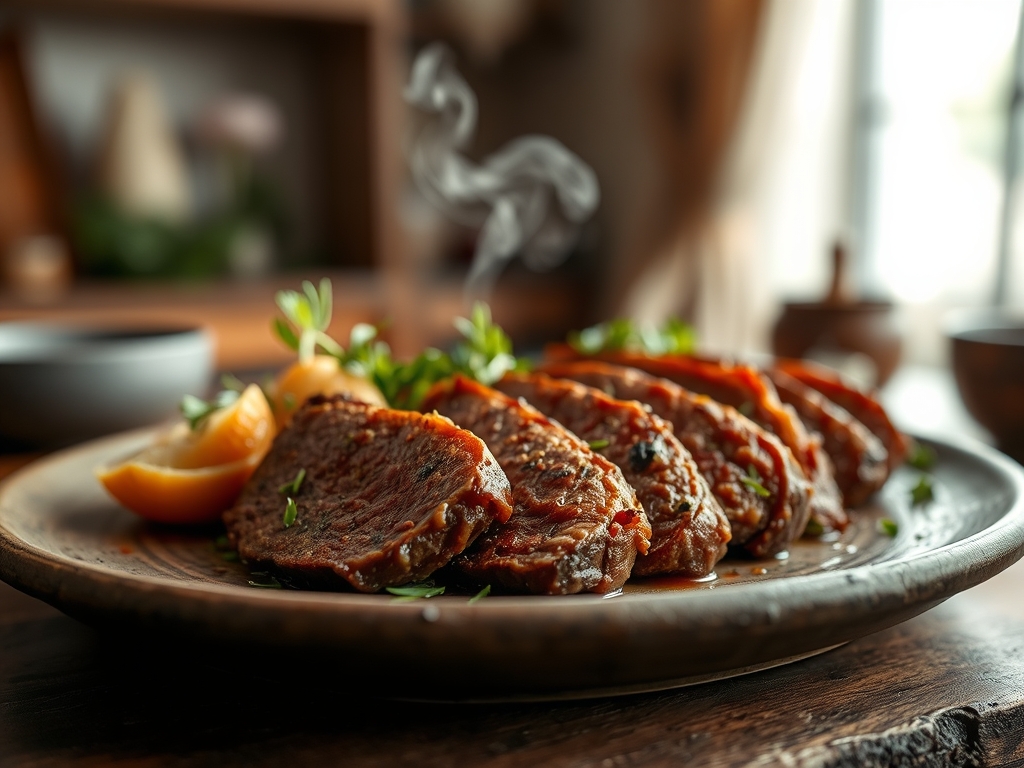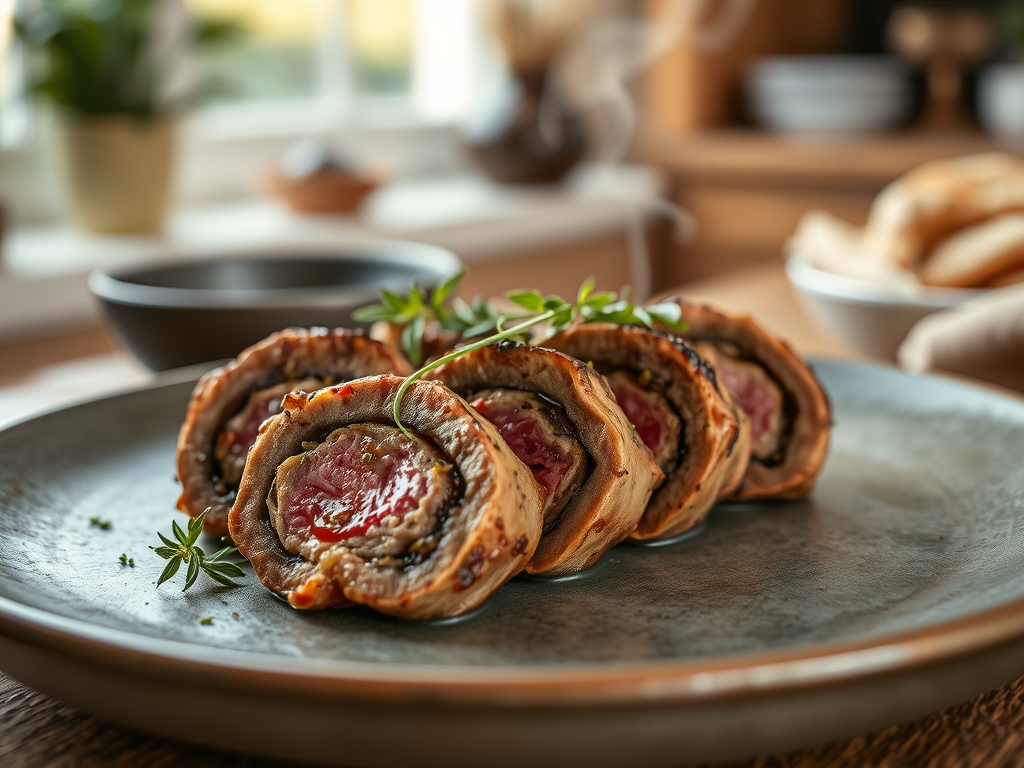
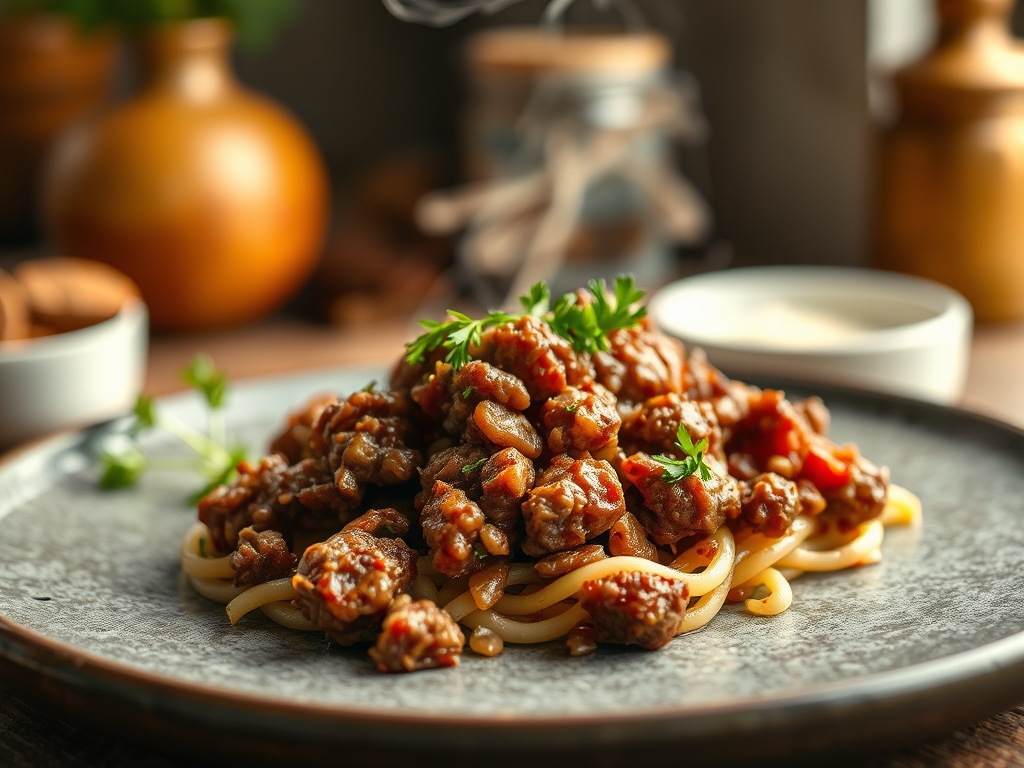
Close your eyes and listen for that specific, aggressive sizzle. You know the one; it is the sound of moisture evaporating and amino acids rearranging themselves into a golden brown crust of pure joy. If you are tired of grey, crumbly meat that tastes like an afterthought, you are in the right place. Creating flavorful ground beef recipes is less about the meat itself and more about how you manipulate heat, fat, and acidity to unlock hidden aromatic compounds. We are moving past the basic "brown and drain" method. Instead, we are going to treat ground beef like the culinary canvas it truly is. Whether you are aiming for a silky Bolognese or a charred smash burger, the secret lies in the Maillard reaction. This chemical dance between sugars and proteins creates hundreds of different flavor molecules that simply do not exist in raw meat. We are going to use professional techniques to ensure every bite is a concentrated explosion of savory goodness. Grab your favorite heavy-bottomed skillet; it is time to turn that humble pound of chuck into a masterpiece.
The Gathers:
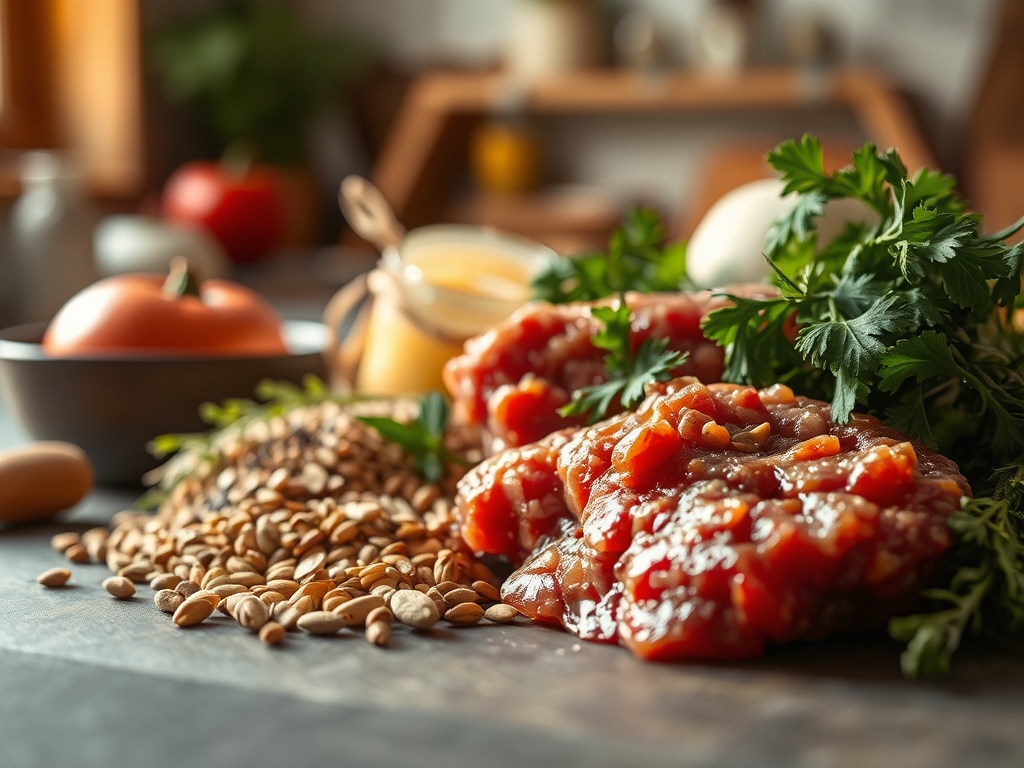
To achieve elite results, your mise-en-place must be precise. Start with high-quality ground beef, preferably an 80/20 blend. The 20 percent fat content is non-negotiable because fat is the primary carrier of flavor molecules. You will need a coarse sea salt to provide texture and a high-smoke-point oil like avocado or grapeseed oil. For our flavor boosts, gather concentrated umami sources: tomato paste, Worcestershire sauce, and aged soy sauce. These ingredients provide a viscous base that clings to the meat fibers.
Aromatics are equally vital. Have your garlic, shallots, and fresh thyme ready on your cutting board. Use a microplane for the garlic to create a paste; this increases the surface area and allows the garlic to infuse the fat almost instantly without burning.
Smart Substitutions:
If you are looking for a leaner profile without sacrificing the mouthfeel of fat, try adding finely minced mushrooms. They mimic the texture of beef and contribute a massive dose of glutamate. If you lack Worcestershire sauce, a splash of balsamic vinegar mixed with a pinch of anchovy paste provides that same piquant depth. For those avoiding soy, liquid aminos offer a similar salty, fermented punch that elevates flavorful ground beef recipes to a professional tier.
The Clock
Efficiency in the kitchen is about "Chef's Flow," which means synchronizing your tasks to minimize downtime.
Prep Time: 15 minutes. This includes dicing your aromatics and allowing the beef to sit at room temperature for ten minutes. Cold meat shocks the pan and drops the temperature, leading to steaming rather than searing.
Cook Time: 12 to 18 minutes. The goal is not just to cook the meat through, but to achieve a deep, lacquered finish.
The Flow: Start by heating your skillet while you prep. By the time your onions are translucent, the pan should be screaming hot. This overlapping sequence ensures that by the time the meat hits the metal, the environment is perfectly primed for enzymatic browning.
The Masterclass
1. The Tempering Phase
Take your beef out of the refrigerator and pat it dry with a paper towel. Moisture is the enemy of a good sear. If the surface is wet, the energy of the pan goes into boiling the water instead of browning the beef.
Pro Tip: This is known as thermal equilibrium. Reducing the temperature gap between the meat and the pan prevents the protein fibers from seizing, resulting in a more tender final product.
2. The High-Heat Introduction
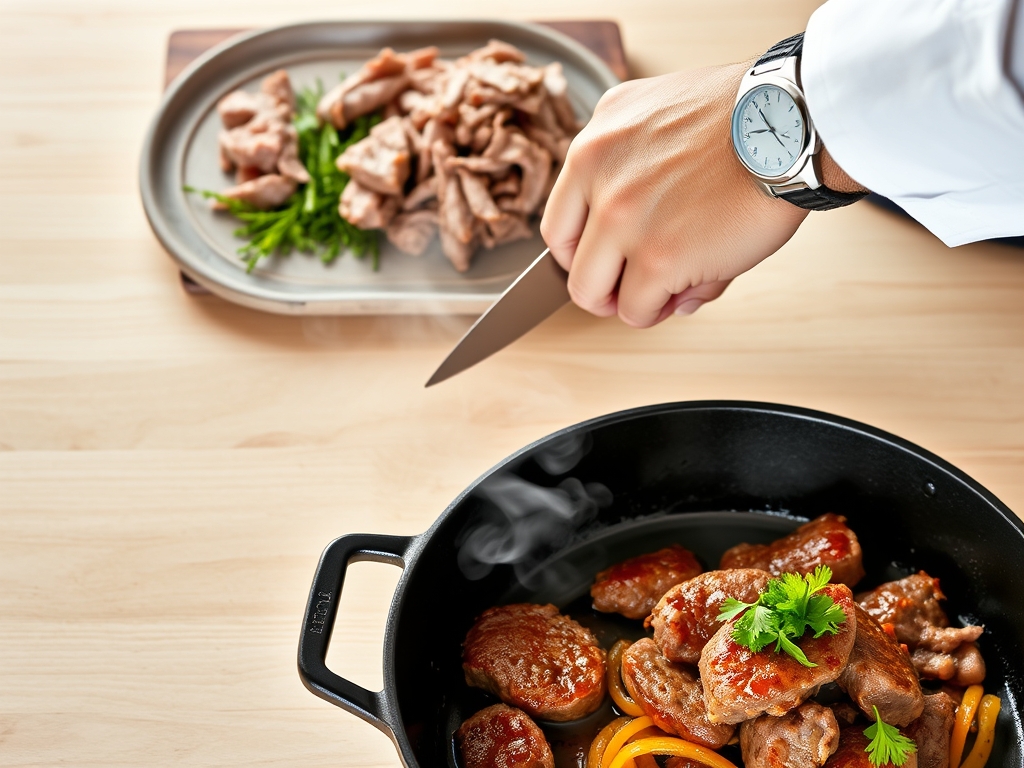
Heat your heavy-bottomed skillet until the oil shimmers. Place the beef in the pan in one large flat disc rather than breaking it up immediately. Let it sit undisturbed for three minutes.
Pro Tip: This maximizes the Maillard reaction. By leaving the meat in contact with the heat source, you create a continuous crust of caramelized proteins that adds a complex, nutty flavor.
3. The Deglazing Maneuver
Once you have flipped and broken up the meat with a bench scraper or wooden spoon, you will notice brown bits stuck to the bottom. Add a splash of beef stock or dry red wine to loosen them.
Pro Tip: These bits are called fond. Deglazing incorporates this concentrated flavor back into the meat, creating a built-in sauce that makes flavorful ground beef recipes stand out.
4. The Umami Injection
Push the meat to the edges of the pan and drop a tablespoon of tomato paste into the center. Let it fry in the rendered fat until it turns from bright red to a deep brick color.
Pro Tip: This process is called pinking. It removes the raw, metallic taste of the paste and develops a rich, savory sweetness through caramelization.
5. The Aromatic Infusion
Add your microplaned garlic and fresh herbs during the last two minutes of cooking. Tossing them in too early will cause them to burn and turn bitter.
Pro Tip: Fat is a solvent. By adding aromatics at the end, the essential oils from the herbs dissolve into the rendered beef fat, coating every morsel in fragrance.
6. The Acid Balance
Just before serving, stir in a teaspoon of lemon juice or apple cider vinegar. This might seem strange for beef, but it is the "secret" of top chefs.
Pro Tip: Acidity acts as a flavor brightener. It cuts through the heaviness of the fat and "wakes up" the palate, making the savory notes feel more vibrant.
The Deep Dive
Macro Nutrition: A standard 4-ounce serving of 80/20 ground beef provides approximately 280 calories, 20 grams of protein, and 22 grams of fat. It is an excellent source of Vitamin B12 and Zinc.
Dietary Swaps:
- Keto: Keep the fat! Ground beef is a keto staple. Serve over cauliflower rice.
- Vegan: Use a pea-protein based crumble. You must add extra oil and a dash of liquid smoke to replicate the render and fatty mouthfeel of real beef.
- Gluten-Free: Ensure your Worcestershire sauce or soy sauce is certified GF (tamari is a great swap).
The Fix-It:
- The Meat is Grey: Your pan was too crowded. Cook in batches next time to allow steam to escape. To fix it now, drain the liquid and add a teaspoon of baking soda to help it brown faster.
- The Meat is Tough: You over-handled it. Ground beef should be broken up gently. To fix, add a splash of heavy cream or butter to create a viscous coating that mimics tenderness.
- Too Salty: Add a peeled potato to the pan for five minutes to absorb excess salt, or balance with a pinch of brown sugar.
Meal Prep: To maintain "day-one" quality, reheat ground beef in a saucier with a tablespoon of water or stock. Cover with a lid to create steam, which rehydrates the proteins without overcooking them.
The Wrap-Up
Mastering flavorful ground beef recipes is all about respecting the chemistry of the kitchen. By controlling your heat, utilizing the power of the fond, and balancing your fats with acidity, you transform a budget-friendly staple into a gourmet experience. Don't be afraid to let that pan get hot and don't be afraid to experiment with umami boosters. You have the tools and the science; now go make something incredible!
The Kitchen Table
How do I make ground beef less greasy?
Brown the meat thoroughly first to render the fat, then use a slotted spoon to transfer the beef to a paper towel-lined plate. For maximum flavor, leave one tablespoon of fat in the pan to sauté your aromatics.
Why is my ground beef always dry?
You are likely using meat that is too lean or overcooking it. Aim for an 80/20 fat ratio and remove the meat from the heat once it reaches 160 degrees Fahrenheit to account for thermal carryover.
Can I freeze cooked ground beef?
Yes. Allow the meat to cool completely before placing it in an airtight bag. Flatten the bag to remove air and increase surface area, which helps it thaw faster and prevents freezer burn from ruining the texture.
What is the best pan for browning beef?
A heavy-bottomed skillet, such as cast iron or stainless steel, is best. These materials retain heat efficiently, ensuring the pan temperature doesn't drop when the meat is added, which is essential for a proper sear.